
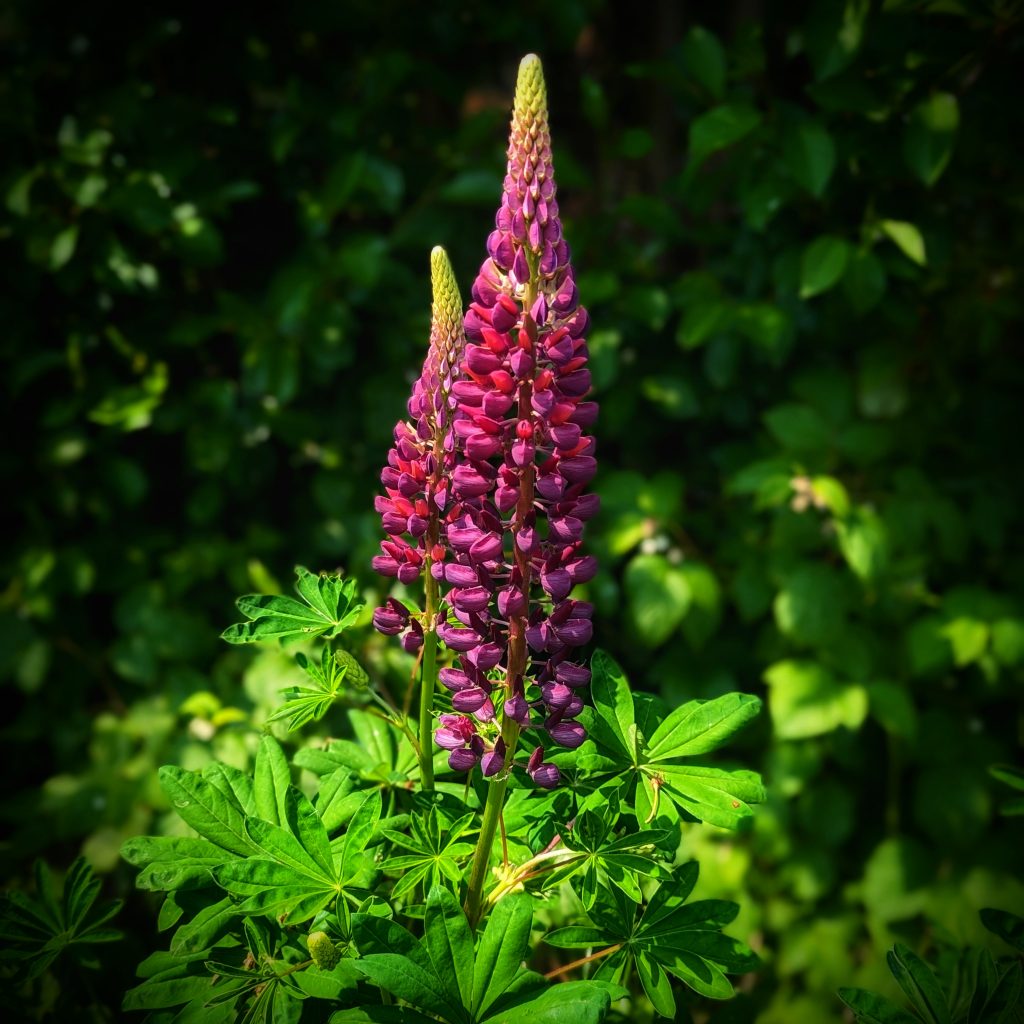
Gorgeous Rockets of loveliness! Lupins never fail to raise a smile, the more the better I say! But don’t go rushing off to your local garden centre just yet! You can Increase your plants for free, just by harvesting seed from the Lupins you already have! Here’s how I do it…
Frugal Gardening
Gardening can be pricey! It’s pretty hard to walk past those luscious green plants in the garden centre or supermarket isnt it?…I here ya! The lure is overwhelming isnt it ? In the past I have bought ready made blooms and garden ready plants that add instant colour and wow! And thats fine and dandy for as long as the budget allows!
But during this time of struggle where most families have lost their disposable income due to rising energy costs and interest rate hikes….the things we love verses the things we need are in constant competition and somethings got to give!
I need to pay the bills and feed and clothe the kids, I dont need another Lupin plant -I just desperately want one! So what is a gardener to do?! We do what gardeners and farmers have been doing for millenia! We harvest our own seed and grow from them-we cut out the middle man and grow our own damn flowers ;0)
It’s not as quick and easy as grabbing a plant of the shelf, but believe me, its incredibly rewarding!
How To Harvest Lupin Seeds in 4 steps
So lets get to it, when is the best time to collect Lupin Seeds and how do you do it?…
1. When should you harvest lupin seeds?
When Lupin flowers die back they reveal large elongated green pods. The seeds are enclosed within the pods. BUT, their not quite ready yet! We must wait until the seed pods turn brown before we can harvest the seeds, this is usually around July-August time.
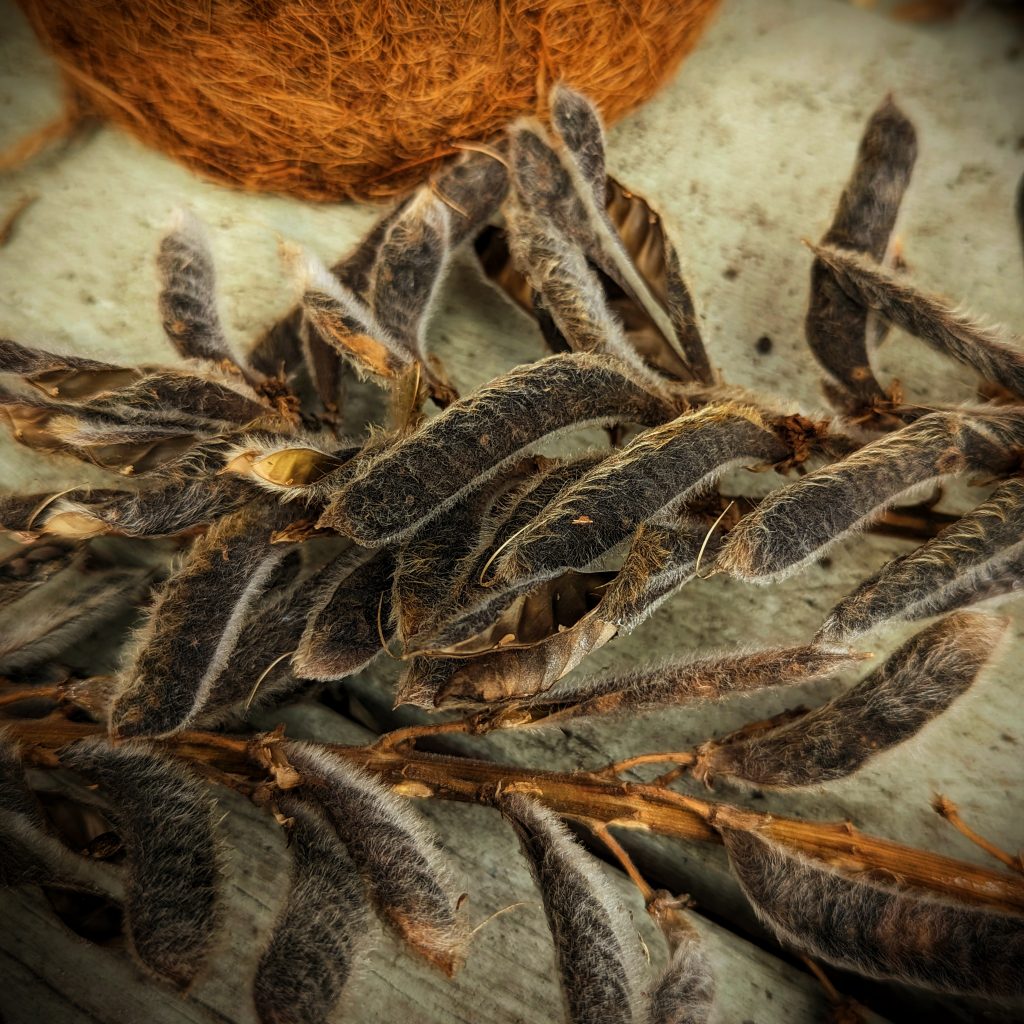
2. How To Harvest Lupin Seeds
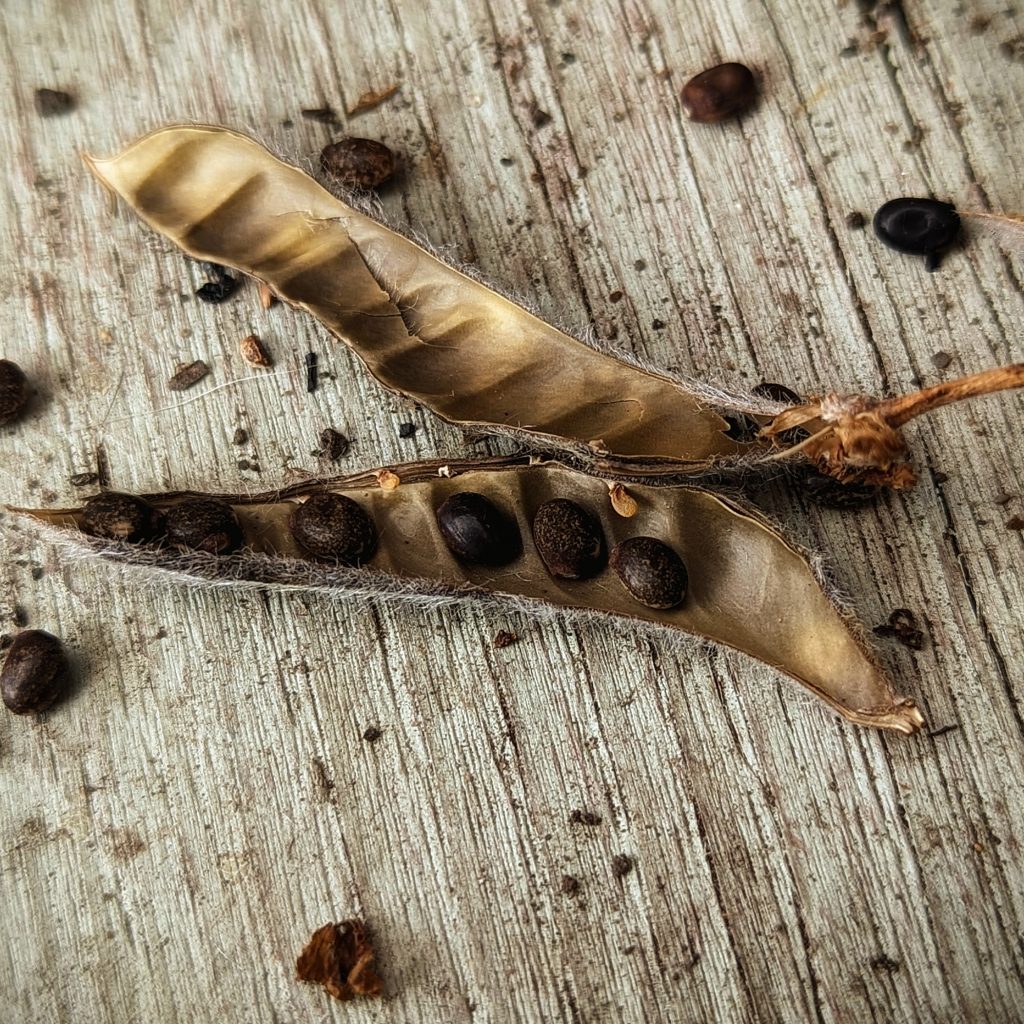
You can remove the pods from the stem or just cut away the full stem like I do. You then squeeze the edge of the pods with your fingers to open them and remove the seeds from within. * You may want to do this over a bowl, they have the tendency to pop all over the place!
IMPORTANT-Many lupins are poisonous, so be mindful, be sure to wear gloves when handling plants or seeds.
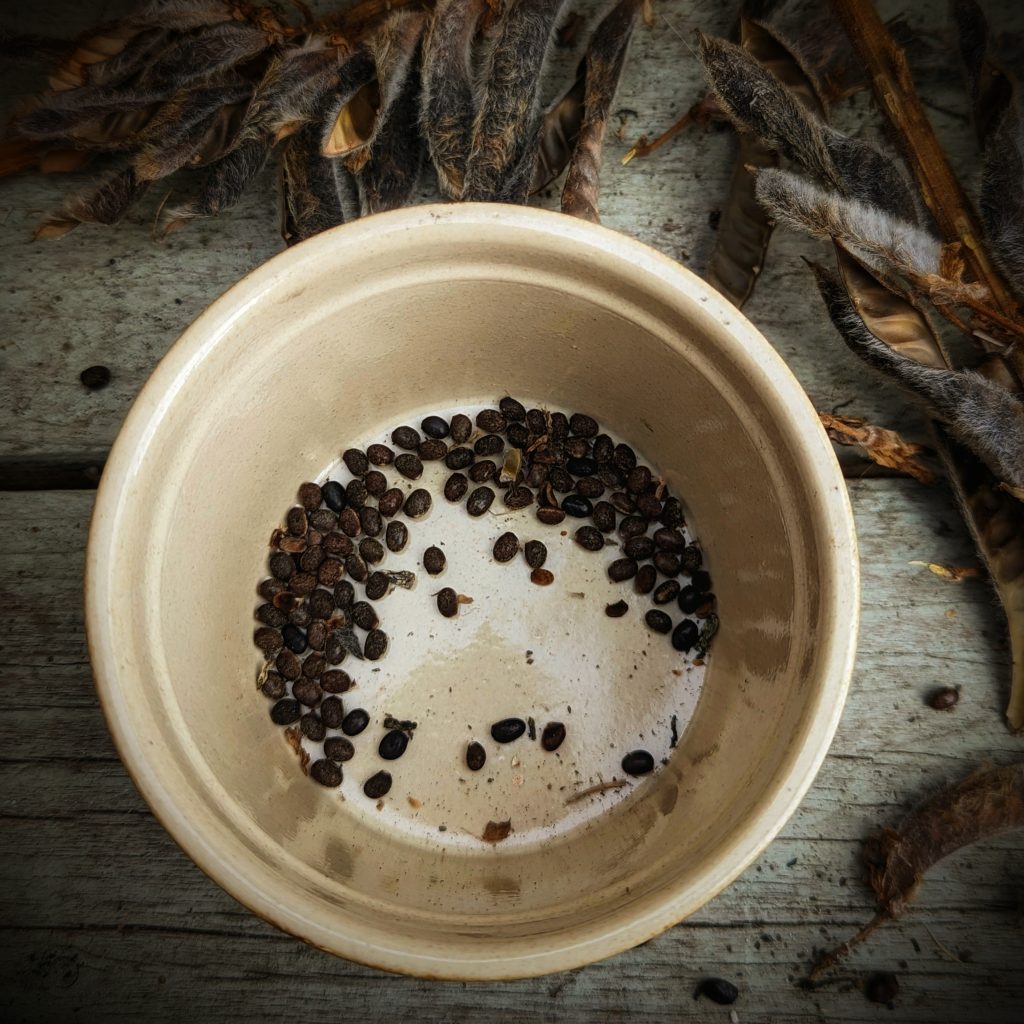
3. Dry Before Storing
You want to make sure that the seeds are completely dry before storing as any moisture can cause the seeds to rot. Seeds that are properly dried and stored before planting also stand a better chance of germination. This is due to the drying process hardening and sealing the seed, like a protective jacket around the precious inner part of the seed.
How to dry seeds thoroughly? To dry, spread out Lupin seeds on Brown paper or Newspaper in a dark, dry sheltered environment for 1-2 weeks.
4. How To Store Lupin Seeds
Store in a paper envelope or glass jar in a cool, dark and dry environment. Remember to label them!
Want To Lean How To Grow Lupins From seed? See My How To Grow Lupins Post!
Seed Viability
How Long will Lupin seeds Remain Viable after harvesting?
A good rule of thumb for me, is up to 2 years. I like to discard all my harvested seeds after that point as the odds of germination decrease as the seed ages.
Does how you store seeds affect Germination?
Yes it can. For eg if you store your seeds in too warm an environment studies have shown a decreased germination rate compared to those stored in a cool environment
So, can seeds get too old to plant?
Unfortunately yes, those seeds you found in the back of the draw from 2008 are highly unlikely to germinate! After 2 years of storage seed germination rates for most varieties will gradually drop to Zero!
Do Lupin Seeds Come True To Colour?
Typically No! Though you might get lucky and get similar colours from collected seeds. Its a pot luck kinda deal! Which I think makes the whole process a little more fun-you never quite know what your gonna get!
If you are looking for an exact replica of the parent plant the only way to go is propogation via cuttings.
How To Grow From Lupin Cuttings…
- Look for new shoots around the base of a plant in spring, choose one which is 5-10cm in length.
- Cut the shoot from the main plant
- Remove any small side leaves from the shoot.
- Make a hole in a small pot of compost, dip the end of the cutting in root hormone and insert the cutting in the compost, so only the uppermost leaves are above the soil surface.
- Water and wait for it to establish a root system
Love to grow flowers? CHECK OUT THESE POSTS…
- How To Grow Lobelia
- How To Grow Liatris Spicata
- How To Grow Cirsium Rivulare
- How To Grow Delphiniums
- How to Grow Dahlias
- How To Grow Sweet Pea
- How To Grow Snapdragons
- How To Grow Cosmos
- How To Grow Verbena
- How To Grow Erica Carnea
CREATING A GARDEN ? TAKE A LOOK AT THESE FRUGAL DIY POSTS…
- DIY Potting Shelter
- DIY Potting Shed Made From Doors!
- Free Greenhouse Makeover!
- 10 ways to create a vertical Garden
- DIY Potting Bench From Scrap Materials
- How to Build a Bee hotel from Pallet wood
- How To Make A Rustic Fence with Tree Branches
- DIY Free Crazy paving Path
- How To make a garden arch with tree branches
LOOKING FOR MORE ‘HOMELY’ INSPO ?
Have a Nosey Around the Blog! See what i’ve been Baking, Growing and Brewing! Also, pop over and say Hi on Instagram