
A Pallet Wood Potting Bench! You know me, I love a bit of DIY!… I love it even more when I can make use of materials that would ordinarily end up on a bonfire or in a skip! This Project cost £0! Here’s how We did it..
This post may contain Affiliate links please see my disclosure policy
Can Your Wife Make Use of This?
It seems I have gained quite the reputation amongst my husbands friends and work colleagues! I have become the woman who will take the tat that nobody else wants! ;o) These guys know I will happily take their old doors, fence panels, fence posts, decking boards, scrap wood and pallet wood! I actually don’t even have to search for it anymore, my scrap wood pile is always healthy! See too, my DIY Potting Bench Made From Scrap Materials for more inspo.
The Organised Garden
I spend a lot of time outdoors, in my garden or at my allotment. I am at my calmest and happiest when I am surrounded by my plants! I like a nice orderly and organised environment where everything has its place and I know where everything is. Nothing spoils a peaceful day of gardening like searching for missing tools, pots and plants.
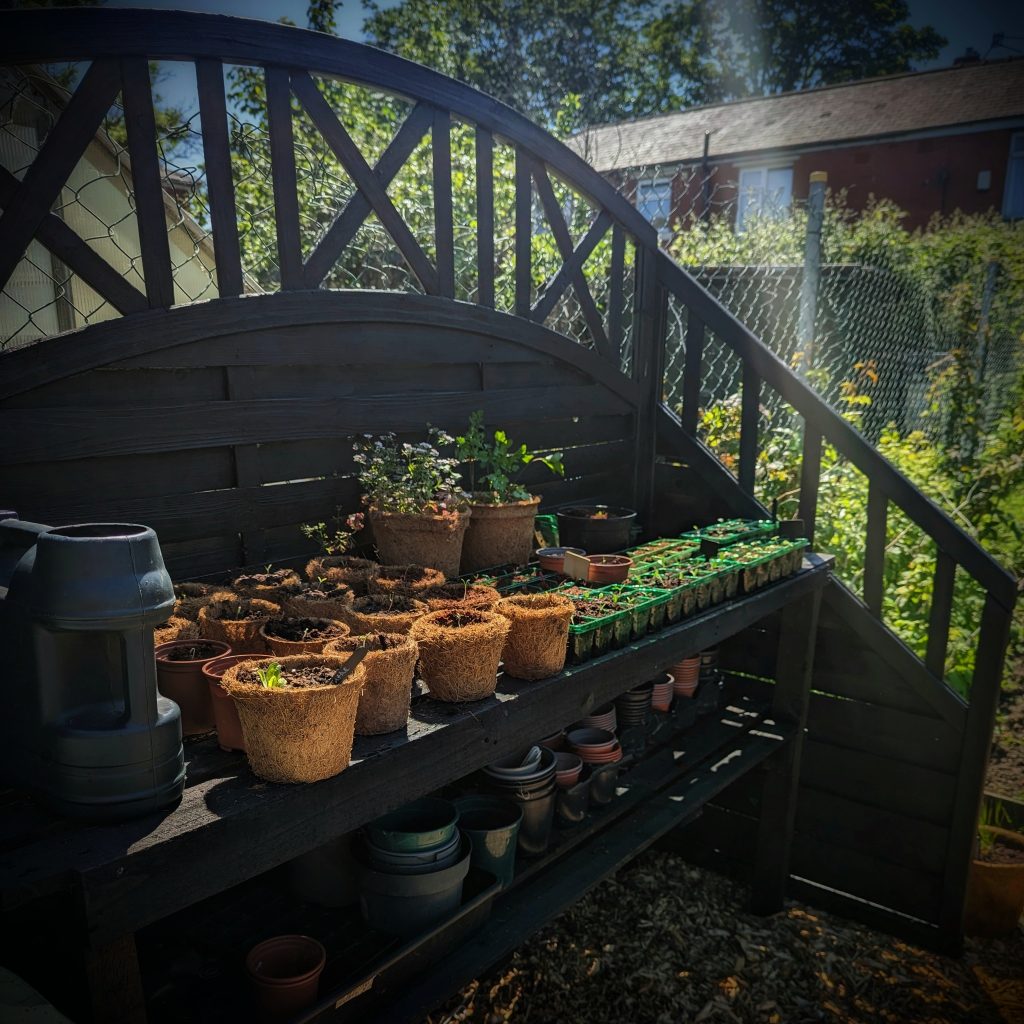
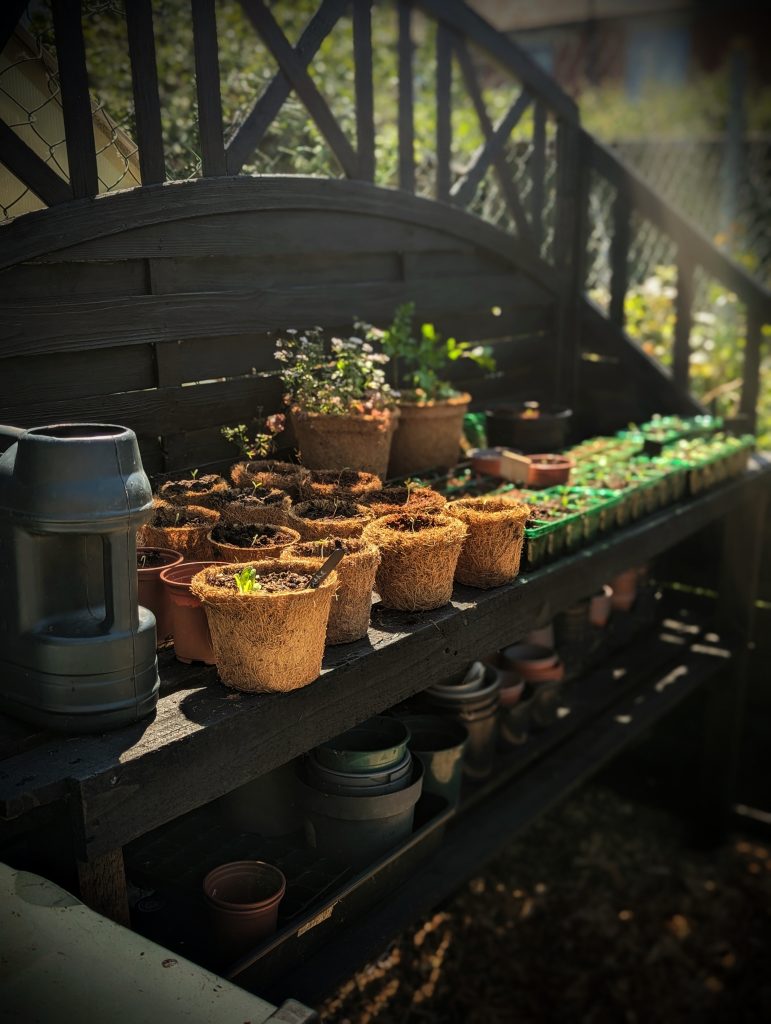
I like to create dedicated spaces with a particular use in mind…This potting Bench is multi purpose, used for potting on seedlings and hardening off indoor raised seedlings. It’s in a partly shaded position, perfect for transitioning young plants to outdoor conditions. It is also sheltered from the wind but still open to the elements, helping the plants to acclimatise naturally.
Look What I got You!
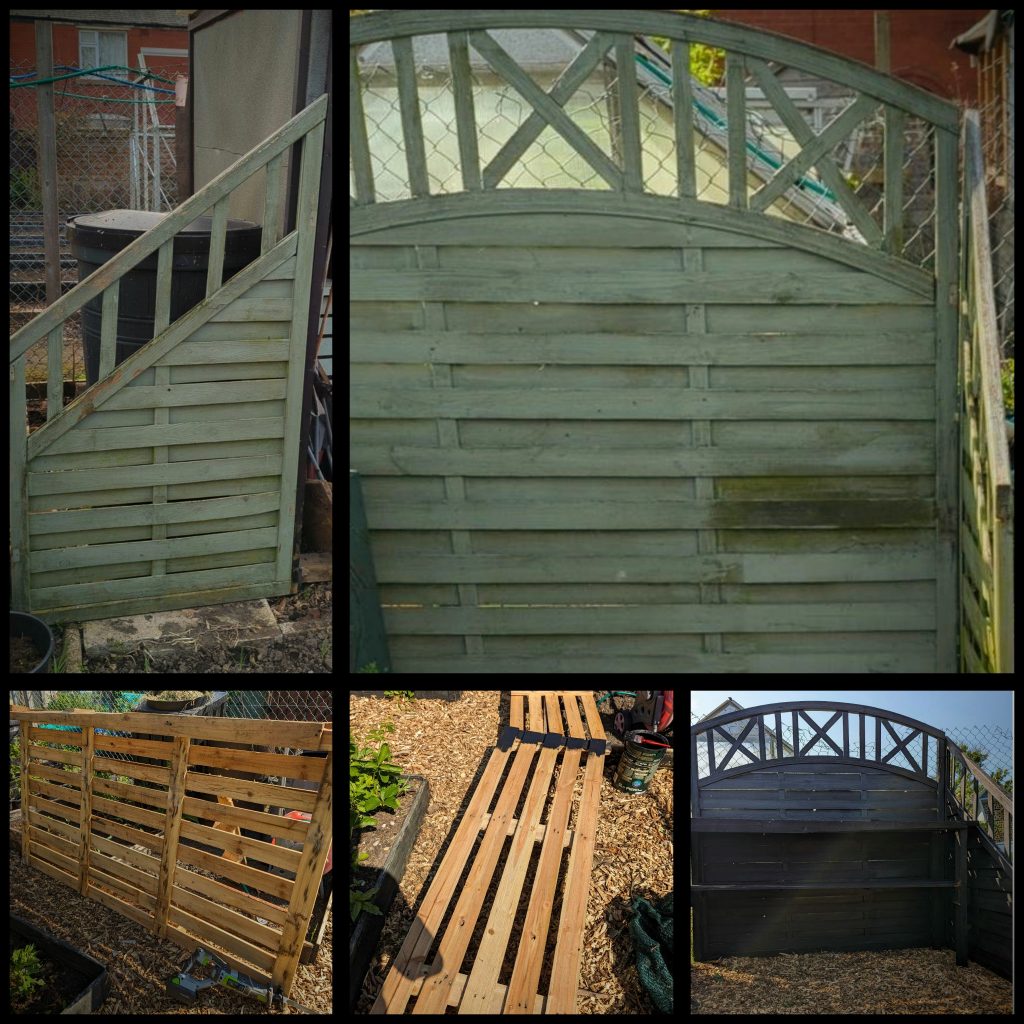
I received a picture message from my husband of 2 green fence panels and an extra large pallet, each in good condition, no rot, no damage…perfect! My hubby knows me so well! We had no clue what we were going to do with them at first, but I knew the perfect project would come to mind in time.
3 weeks later…‘I wish I had a place to harden off my plants…that isn’t the floor!’ LIGHTBULB! Let’s make something for the Allotment…

‘It doesn’t need to be fancy’
My exact words to my husband ;o) Unlike my potting bench at home or the Bench in The potting shed or the Potting Shelter/Drying Shelter, it didn’t need multiple layers, sections, shelves and hooks. I just needed a simple table with a couple of shelves and a windbreaker for hardening off my plants.
This project actually turned out to be our easiest garden DIY to date! It took less than an hour to construct…we spent more time painting it!
How To Make A Potting Bench From Pallet Wood
Affiliate links
Tools We Used
Materials
- 2 fence panels
- 1 Large Pallet
- 4 legs (We cut 2 fence posts in half)
- Screws
- Paint (I used Ducks Back Black Cuprinol)
Instructions
The picture below is pretty self explanatory and since this Project is constructed from scrap wood materials and pallet wood, exact measurements will differ depending on the wood you have to hand. This DIY Potting Bench is just an example of what is possible…
1. With 2 fence Panels create an ‘L’ shape and screw each to the other to form a cubicle of sorts
2. Cut a Pallet down the middle with a Saw, Creating 2 slatted sections (see picture below). These 2 pieces will form the the table top and the lower shelf.
3. Now decide the height of your table, mine is waist height, perfect for pottering without too much arching of the back! Measure and cut the legs to size (from the floor to the top of your bench top) I repurposed old fence posts for this part.
4. First attach the bench top by placing a pallet wood section on top of the upright legs (You will need a second person to help you for this part) Screw Through the Pallet wood section and into the top of each leg until all 4 legs have been attached.
5. Now attach the lower shelf. Position the second pallet wood section where you want it and attach it to the legs by screwing through the side of the legs and into the pallet (Again a second person would be helpful for this part)
6. Attach the ‘L’ shaped fence to the Potting bench by screwing through the back of the fence panels and into the newly constructed bench, holding everything in place.
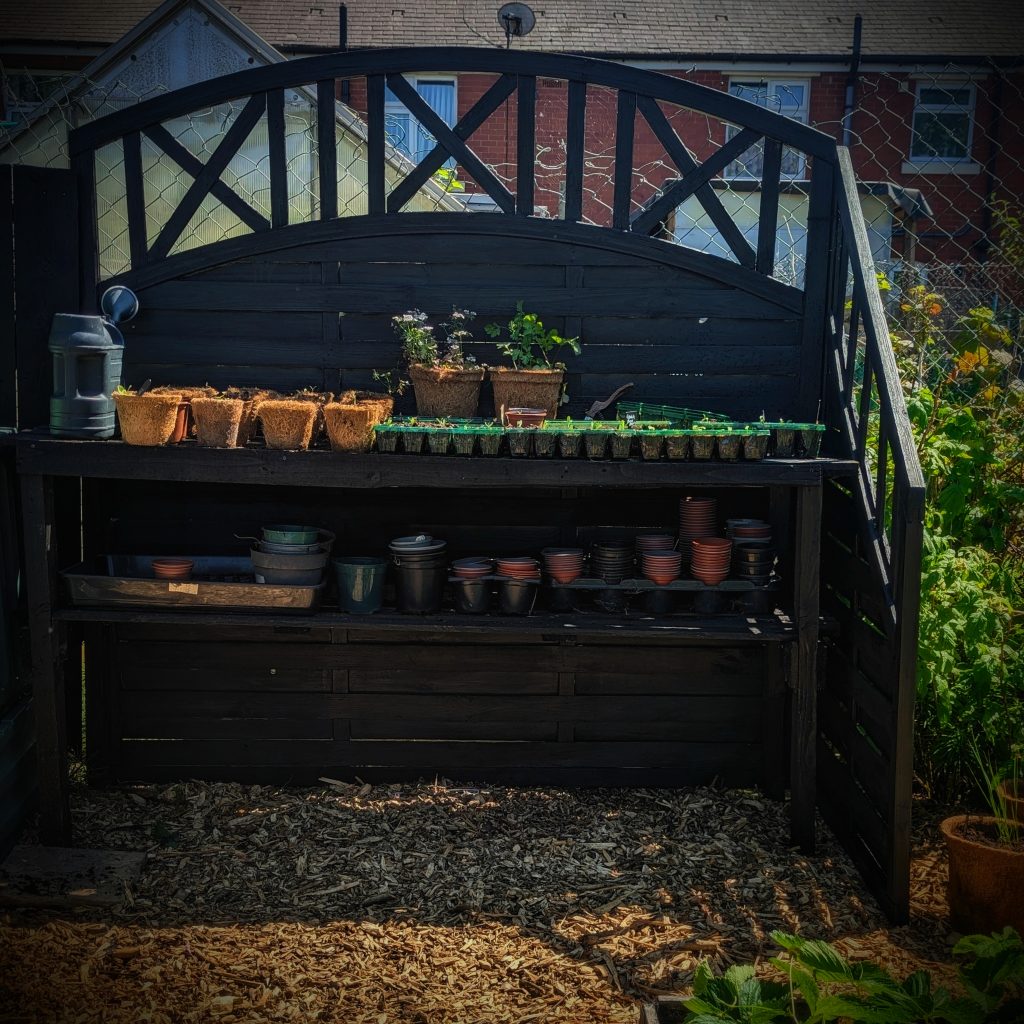
7. Paint in a colour of your choosing!
As you can see, I haven’t dazzled you with any master carpentry! It really is as simple as screwing old wood into other old wood! There will be screw holes and rough edges…but who cares?! It does the job, looks good and is Free! Perfect for an Allotment or Garden, saving your pennies, your back and protecting your plants!
I get so much joy from cobbling together scraps of wood and creating something beautiful, more people should do it! Give it a try and let me know how you got on in the comment section below
Looking for Other Budget Friendly Garden DIY Projects?
- DIY Rustic Fence Made From Branches
- DIY Potting Bench From Scrap Materials
- Make a Free DIY Crazy Paving Path
- DIY Shed From Old Doors
- DIY Potting Shelter
- DIY Free Greenhouse
- DIY Bee Hotel
Creating A Garden? Have A nosy at these posts…
- How To Grow Lobelia
- How To Grow Delphiniums
- How to Grow Dahlias
- How To Grow Sweet Pea
- How To Grow Snapdragons
- How To Grow Cosmos
- How To Grow Verbena
Want To Grow A Vegetable Garden?
- How To Grow Turnips
- How To Grow Beetroot
- Lemon Cucumbers
- How to grow Giant Mustard
- How to grow Perfect Carrots
- How To Grow Garlic
- How To Grow SweetCorn
- How To Grow Broccoli in Pots
- How To Grow Spring onions
Looking For more ‘Homely’ Inspo ?
Have a Nosey Around the Blog! See what i’ve been Baking, Growing and Brewing! Also, pop over and say Hi on Instagram