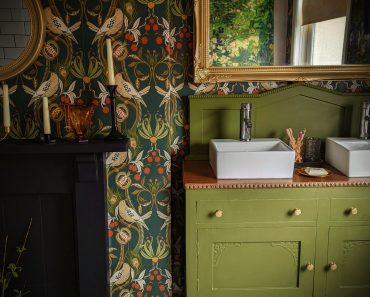
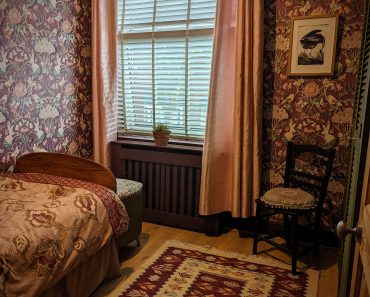
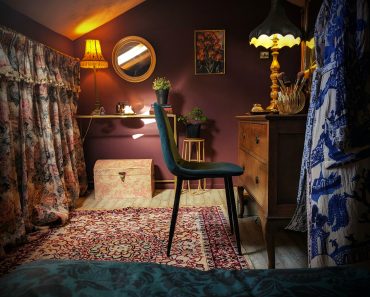
Typically, landing areas can be awkward pokey little spaces that are tricky to decorate. Most of the time people tend to paint them white or choose lighter colours in order to give the illusion of space. By now you have likely noticed that I love dark and moody decor! And a 2m x 2m space will not change that! Here’s a few tricks I used to trick the eye, enhance the space and create a welcoming area between the boys rooms….

This post may contain affiliate links please see my disclosure policy
The Linen Room
Technically, this area is a part of the landing upstairs, it is between the boys rooms but separated from the main landing area by a door.
It’s too small to be a bedroom and too big to be a walkway…so I call it the linen room! I use it to store all the clean bed linens and blankets and a few of the kids books too!
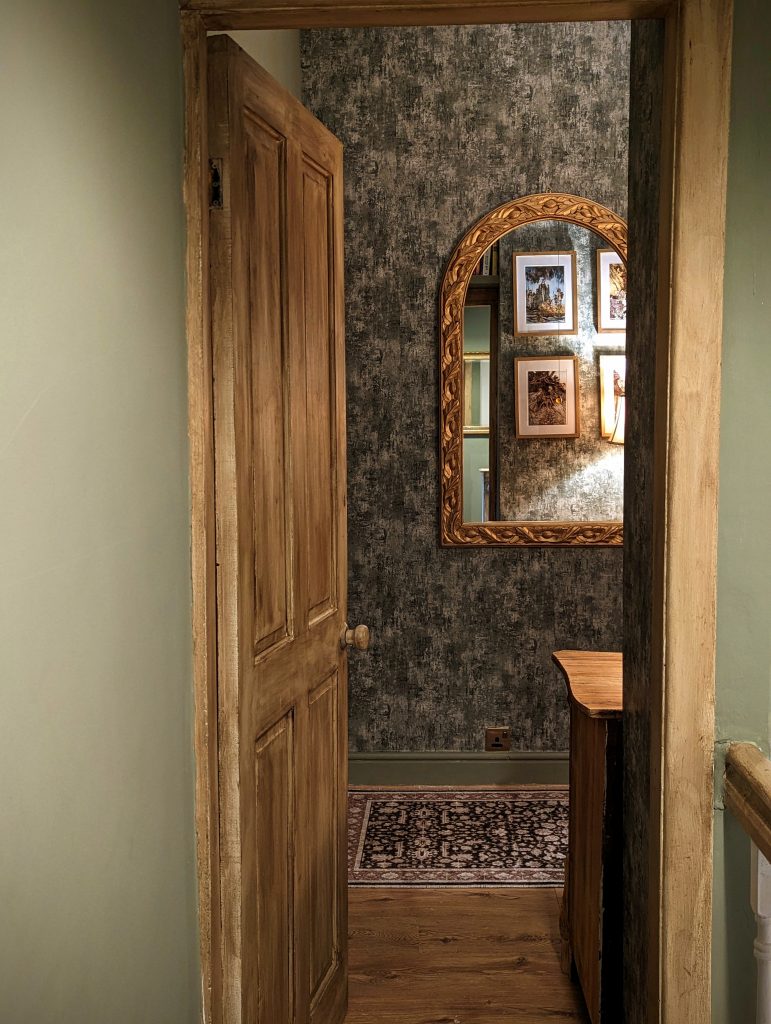
Before
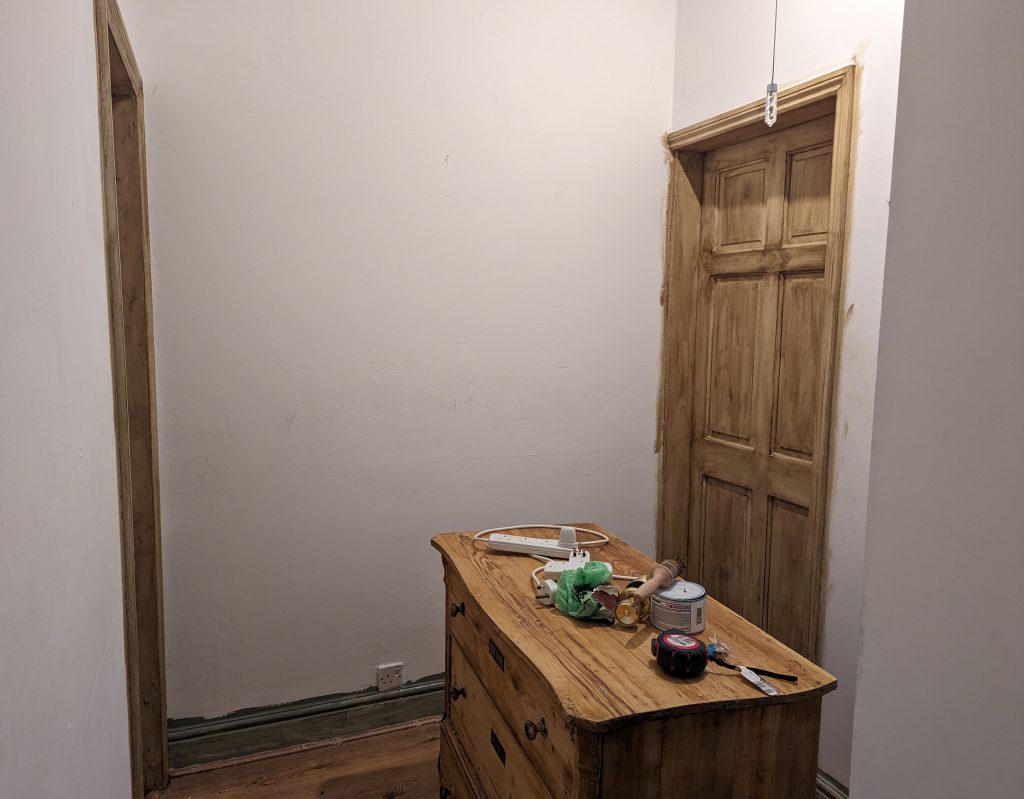
Before I tweaked it back to life this area served as a plain white dumping ground for school bags, shoes and a couple of laundry baskets, it was bland and boring!
One day, after tripping over the boys shoes for what felt like the hundredth time! I decided to clear it out and start a fresh! Just emptying the room of all its junk enabled me to envisage what it could be! I made a plan and got to work…
The Doors
The doors were originally orange pine and very tired looking! They desperately needed an update and I didn’t want to break my back sanding, so I did a little research and came across the French Chic browning Wax Hack….OMG its bloody genius!!
The technique gives furniture that aged, pitch pine or light Oak kinda look , its fabulous and incredibly easy to implement. Here’s How I did It…

French Chic Browning Wax Hack
Affiliate Links
What You’ll Need
Method
- Clean the door or intended piece of furniture with Sugar soap. You want a nice clean surface for your base coat.
- Apply 1-2 coats of french chic Creme de la Creme and allow it to dry completely
- With a waxing Brush, Apply evenly 1 coat of wax and allow to dry for half an hour- for a lighter wood look you may find 1 coat is sufficient. But for a darker wood effect like mine apply a second coat after half an hour has passed (See Video below)
TOP TIP *** If you have worked with wax before, you know that it is standard practice to buff off excess wax to make the finished surface more durable…I didn’t do that! I found after the second coat of wax, the doors were exactly how I wanted them. No Buffing Required! *Doors are generally opened and shut with the use of handles, which should shoulder the burden of wear.
**For High traffic furniture like dining tables and bannister rails, buffing would be advisable.
The WallPaper and paint
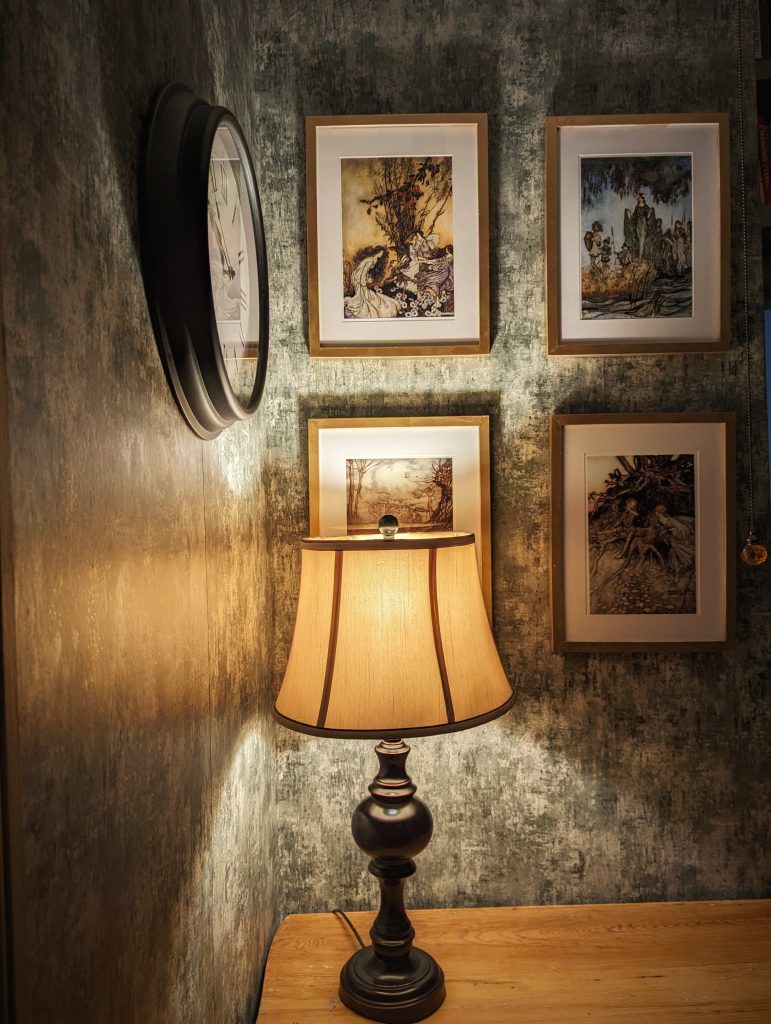
I wanted a textured look wallpaper to make the most of the soft lighting. I knew the shadows and light in the room would work wonderfully with the dark and light hues on the paper.
I found the Muriva Cove Jade Texture Wallpaper on amazon at a snip for £11 a roll!
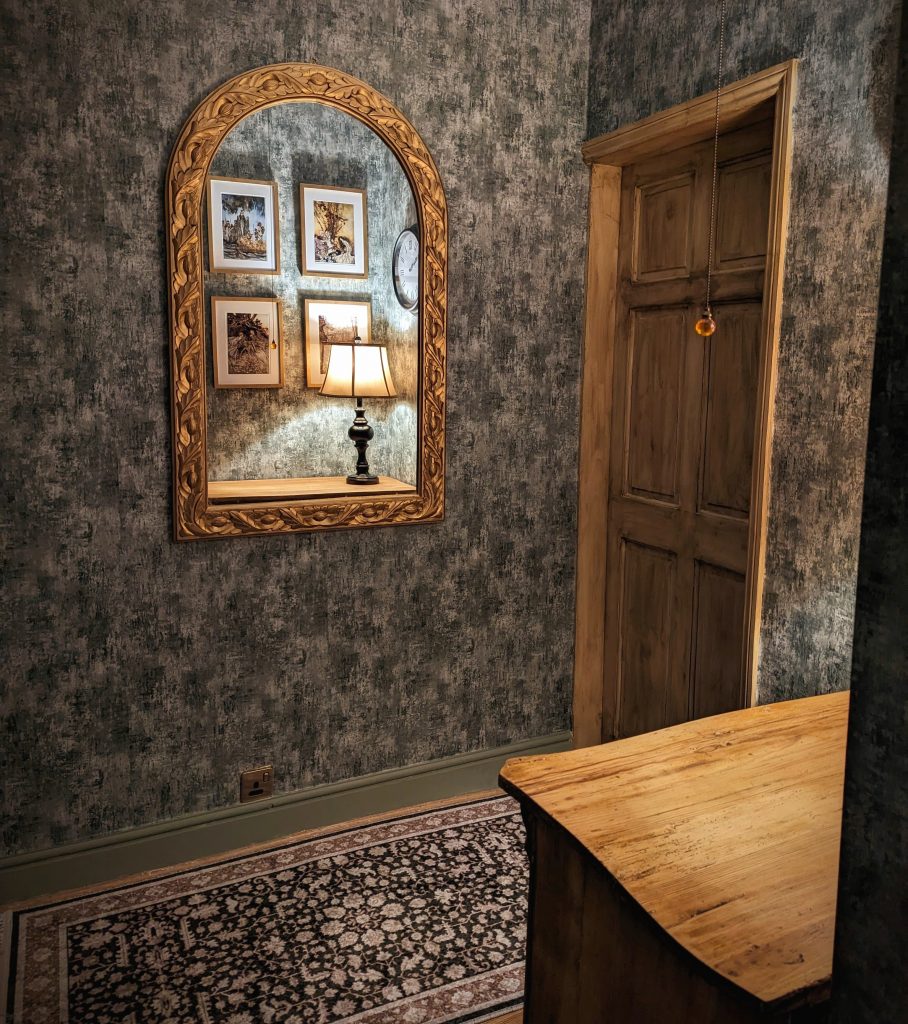
The Paint I chose for the walls was a matt Deep sage emulsion from Wilkos it complimented the paper beautifully and covered the white walls very well with just 2 coats.
The Drawers
In every room I like to have at least one Item that was free! My frugal heart requires it! I get asked often, how on earth I get so many things for free, and I simply say ‘what goes around, comes around’.
I am a great believer in paying it forward, I routinely give away things I no longer need… furniture, garden stuff, clothes …I pass it on in the hope that it will find a good home and be cared for by another family.
One of my favourite sayings is…’The universe provides’ and it really does! as long as you continue to put in and not just take out…That’s my theory anyway! But I digress, back to the drawers…
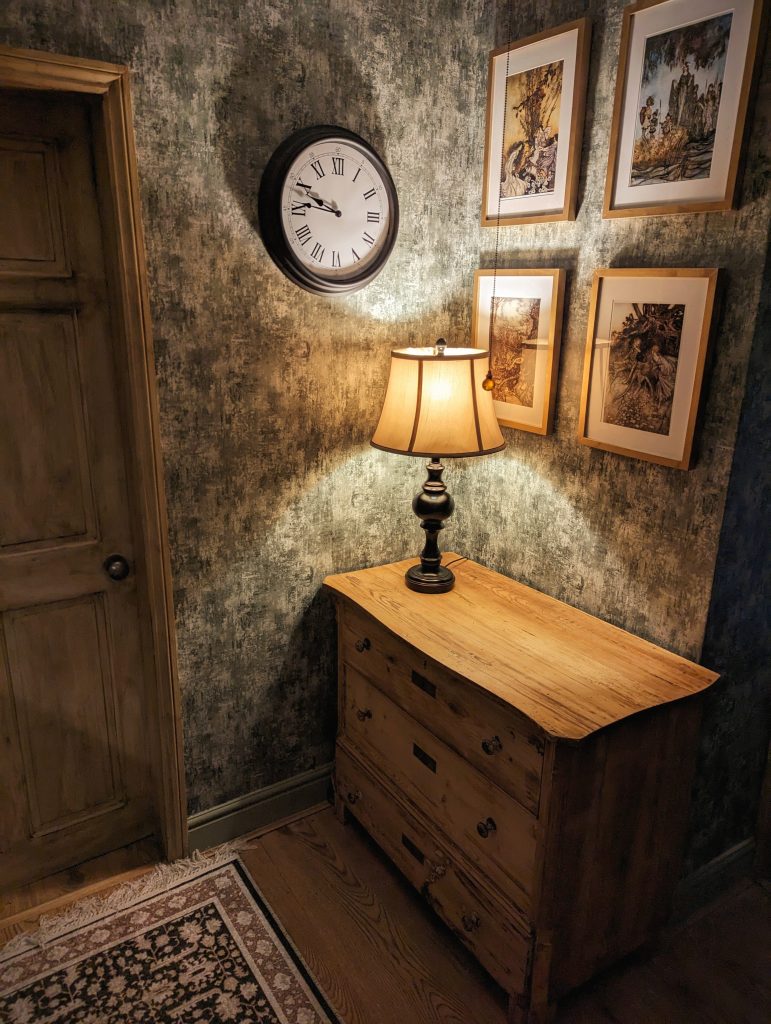
This incredible Antique German Chest Of drawers (c 1910) was listed for free on Facebook Market Place and originally looked like this…

The Advert for the drawers was 1 week old by the time I saw it, and I for sure thought that somebody would have already snapped them up…but as it turns out they were still available and still free !
Nobody wanted them, I couldn’t believe it! I can only imagine that people were put off by the layers of paint, chipped edges and split wood….who wouldn’t be?
I fell in love with its curves, key holes and charm! I knew It would take some elbow grease and patience, but you know me, I love a challenge…and a challenge it was!

Let me tell you, stripping back decades of paint was no easy feat! All the little nooks and grooves didn’t help matters either, but after more hours than I care to count, its original beauty was revealed!
Beneath all the paint and filler it was somewhat scarred and tarnished, but still very beautiful! I treated it with a clear wax and filled it with Pillow cases, cotton sheets and blankets!
The Lamp
Every lamp in my home is second hand, I love a good root around on Ebay! This one was a particularly good find, I won it for £5 ! Lampshade Included ! You’ll be hard pushed to find a lamp of this quality on the high street for less than £50!
I was thrilled, it was just what I was looking for. Perfect for the classical and traditional decoration of this space.
The art
The wonder that is Arthur Rackham! An English book illustrator whom was one of the leading figures during the golden age of book illustration. His work appeared in notable titles such as..
- Peter Pan in Kensington Gardens by J.M. Barrie (1906)
- Gulliver’s Travels by Jonathan Swift (1900)
- Alice’s Adventures in Wonderland by Lewis Carroll (1907)
- A Midsummer Night’s Dream by William Shakespeare (1908)
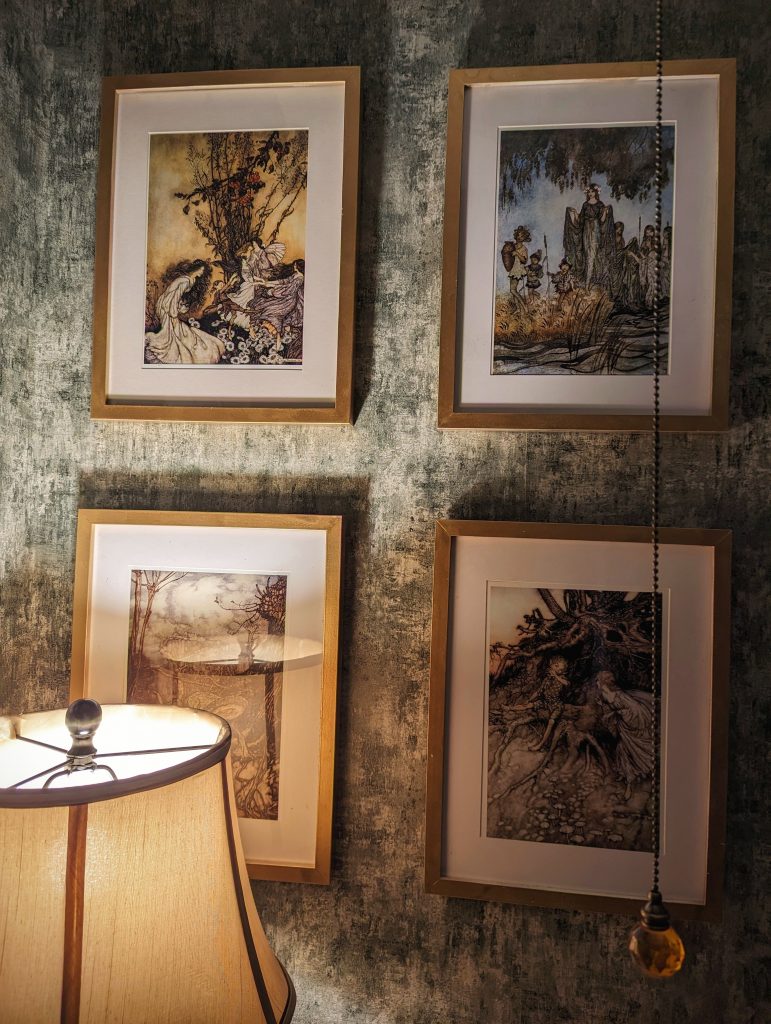
I love the innocence and Childlike wonder of his work and thought it perfect for the space between my children’s rooms.
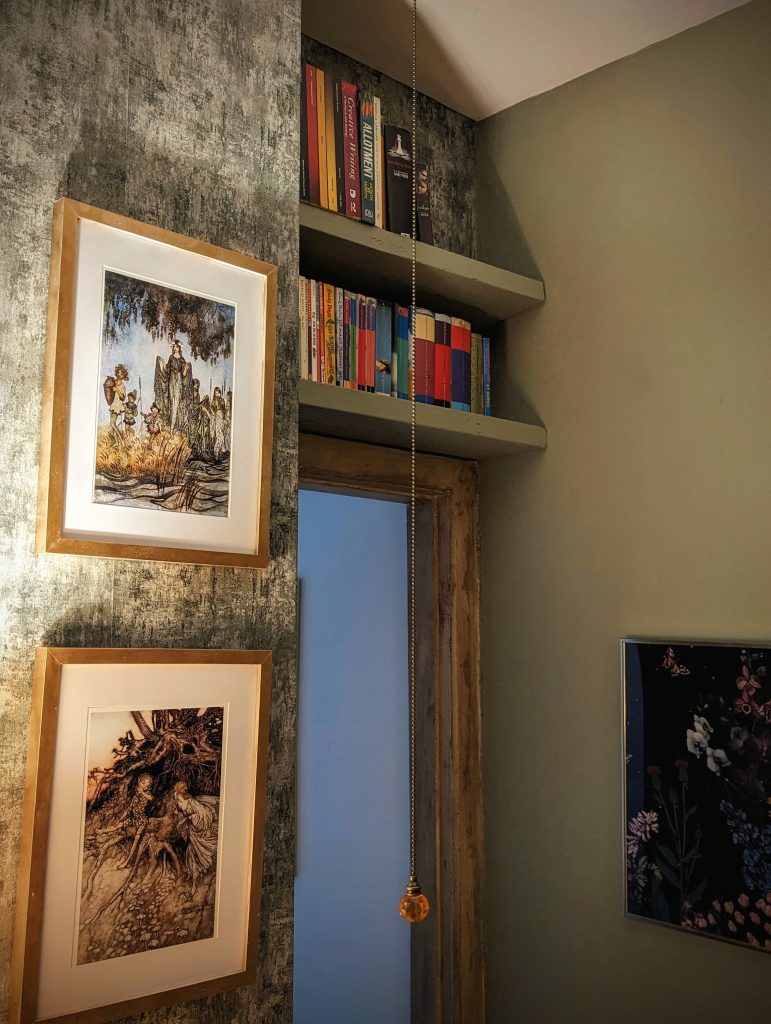
I chose 4 of my favourite Rackham Pen and Ink fantasy illustration prints …
(Left To Right Clockwise)
- Dancing With The Fairies
- Sabrina Rises attended by water nymphs
- Midsummer nights dream II
- Green dragon 1913
The Light Pull
I fitted a simple and traditional Antique Style Amber Crystal Light Switch Pull Chain
The Mirror
The Mirror was actually a surprise freebie! I had gone to pick up a bookcase I had bought, and the lady kindly offered me the mirror for free!
Remember what I said about the universe provides? Well, I happened to be on the lookout for a large mirror for this space and this one very conveniently found me!
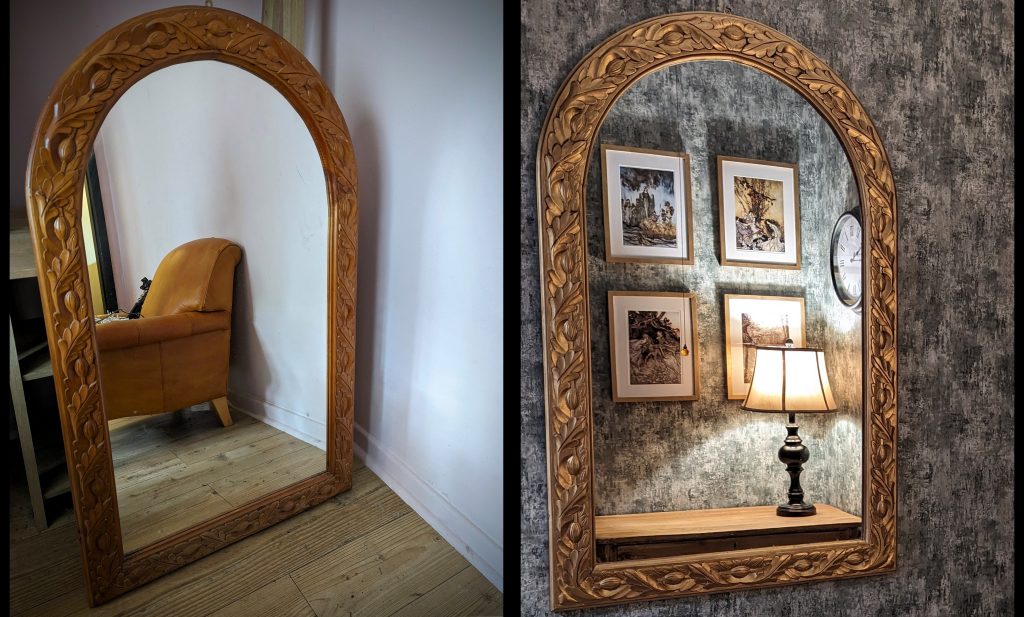
I sprayed it gold brushed it with browning wax for that antiquey look and tadaa!! It now bounces the light around the room like a champ! It’s also my boys favourite spot to fix their hair!
Bookshelves
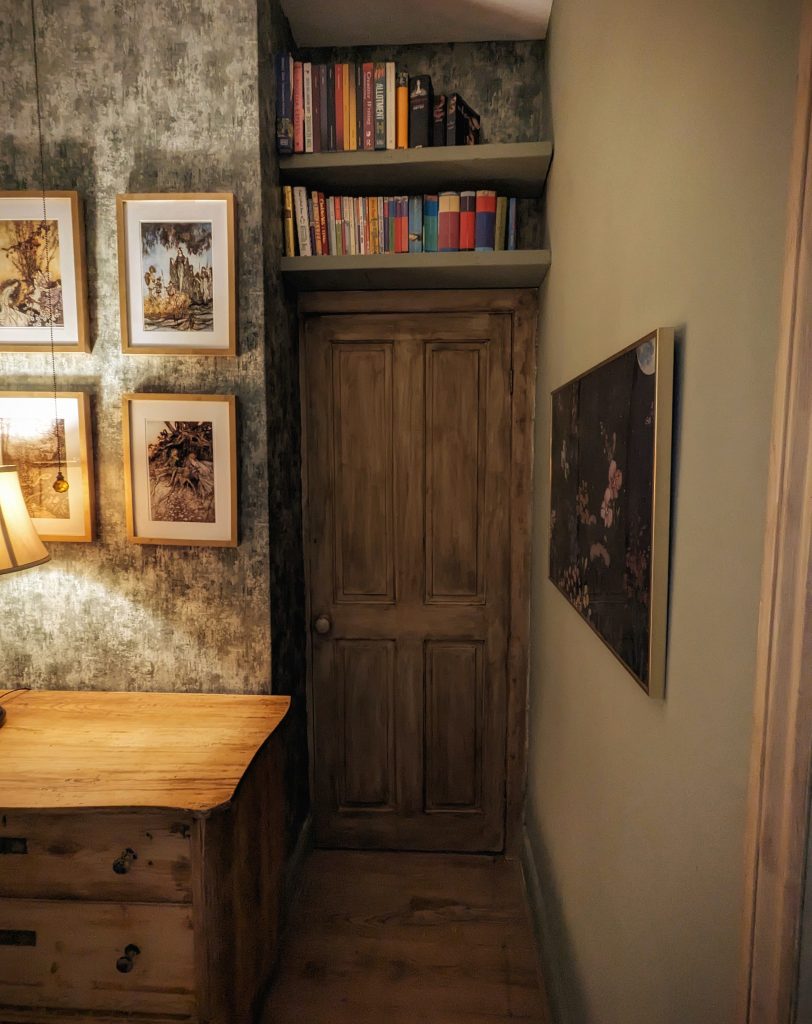
The book shelves are actually old discarded railway sleepers, cut to size, then painted and held in place with brackets mounted from the top.
The Rug
A chose a traditional style patterned rug with a busy pattern to compliment the room…
Non Slip Large Traditional Rugs Living Room Bedroom Carpet Hallway Runner Rug

Other DIY Posts you may like…
- DIY Rustic Potting Bench
- DIY Potting Bench Made From Pallet wood
- Make a Free DIY Crazy Paving Path
- DIY Shed From Old Doors
- DIY Garden Arch made with tree branches
- DIY Potting Shelter
- DIY Free Greenhouse
- DIY Bee Hotel
- DIY Rustic Fence made from Branches
Looking For more ‘Homely’ Inspo ?
Have a Nosey Around the Blog! See what i’ve been Baking, Growing and Brewing! Also, pop over and say Hi on Instagram

