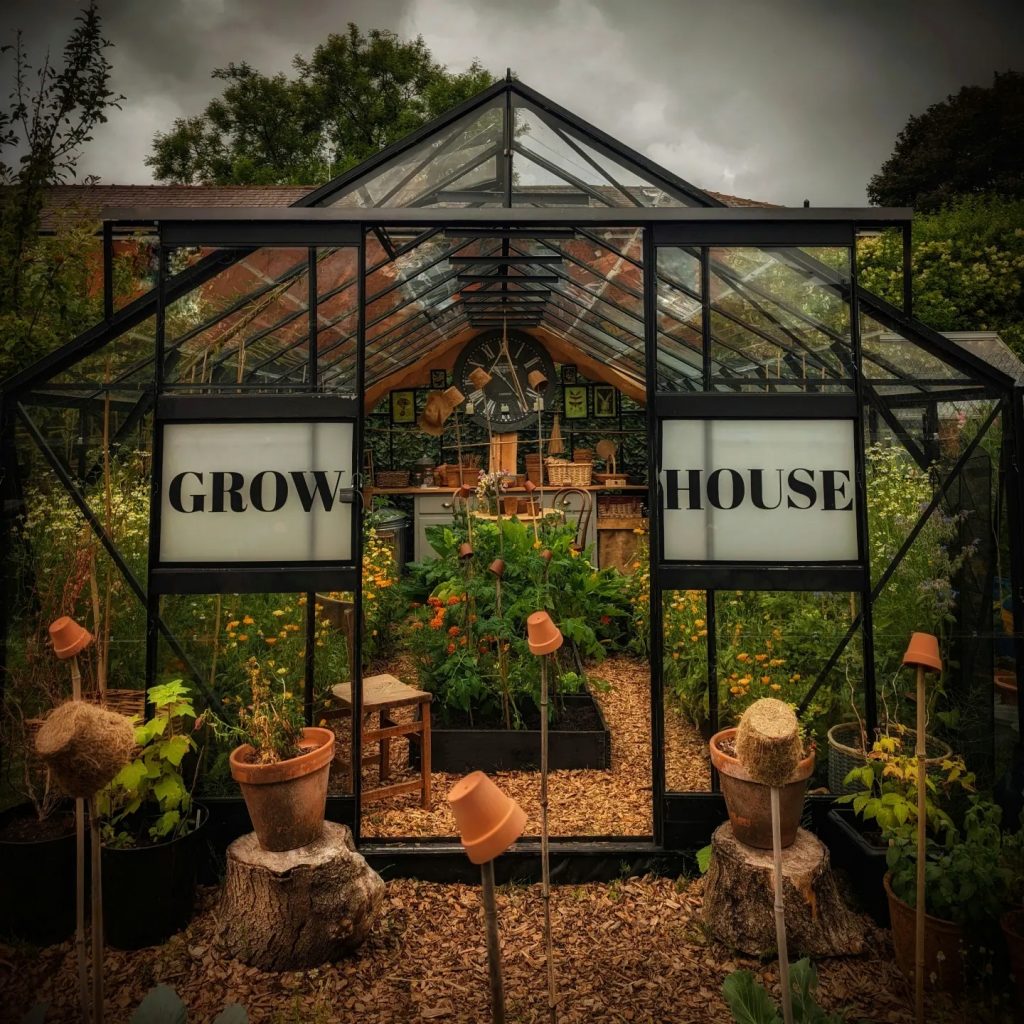
See How I transformed a free Greenhouse, from a tired eyesore into a beautiful Green Haven! Using Upcycling techniques, repurposing and recycling I created my Dream Greenhouse Makeover, filled with Lush Summer harvests and home comforts!
This post may contain affiliate links please see my disclosure policy
At the beginning of 2022 I started researching Growing structures for housing my Tomatoes, Peppers, Aubergines and Cucumbers. (Here In the UK for the best results, these Vegetables are best grown in the safety of a greenhouse to gain a more abundant crop)
What happened next, I like to call fate! A very nice lady whom will be forever on my Christmas card list! Listed a very large 20ft X 10ft Greenhouse on Facebook Market Place for FREE! I’ll say it again…FREE! I nearly choked on my tea! The only condition was that it be dismantled and taken away the very next day. Within moments of her listing it, I had messaged her, apparently there was a flood of people after me, bombarding her with messages…but I got there first! I was so lucky!
Moving Day
I then had to arrange a Van and a willing husband, I managed both! When the day came, it felt like Christmas Morning! (If your a Gardener you will fully appreciate what a big deal this was!) It rained the WHOLE day, and not just a light sprinkle, a downpour! ‘Try moving 178 panes of glass in that!’ My Husbands words! I wasn’t there- My Husband and son did the pickup (I did the dress up!) Throughout the day they mercifully kept me updated with pictures and videos, each ping on my phone was so exciting, it was actually going to be mine!!
Here is the first Video he sent me.
To dismantle the whole Greenhouse took an entire day. First they had to empty it, then remove every individual pane of glass, then finally unscrew the frame. Each step was photographed and the frame pieces numbered for ease of re-building.
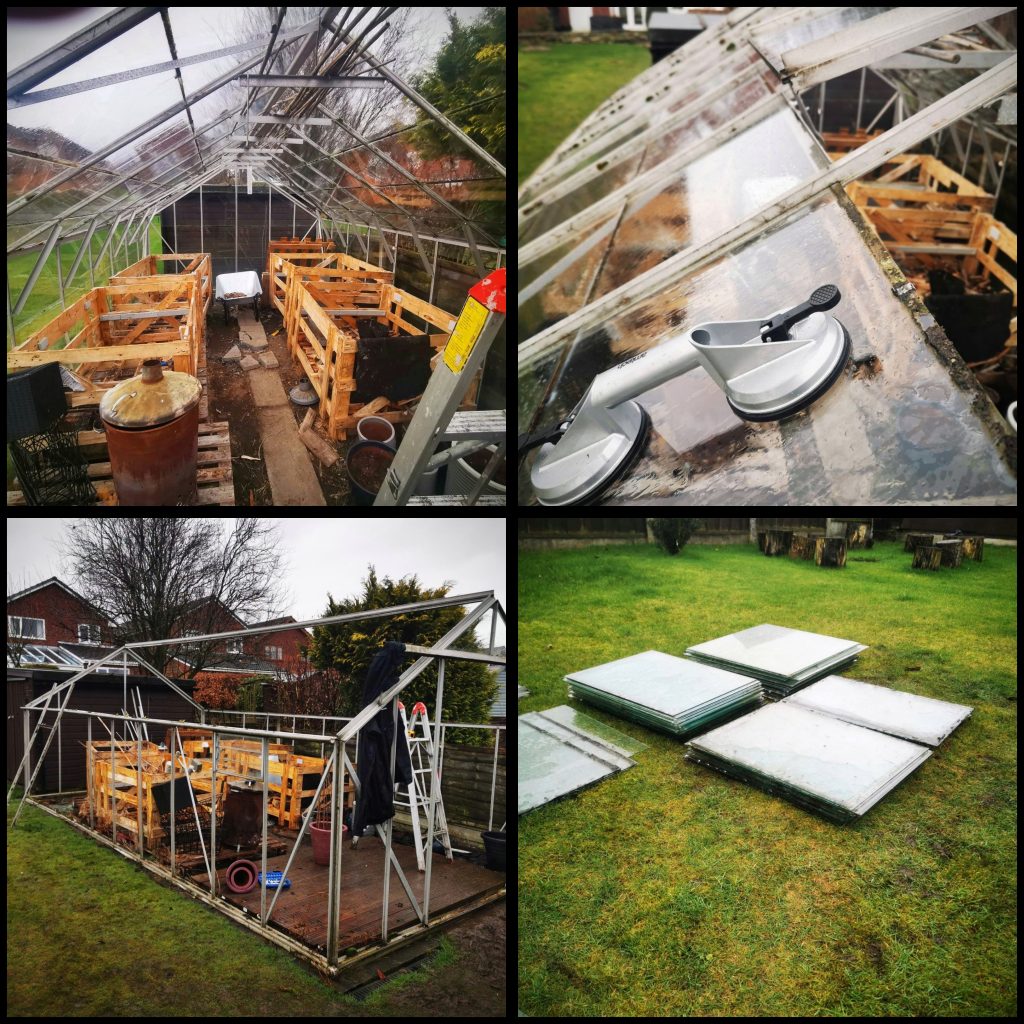
The next job was to load everything into the van and bring it home. This part worried me the most! Glass and Bumpy roads is not the ideal combo! Out of 178 panes, 6 broke in transit, a result I was quite pleased with, it could have been so much worse!
I gave my Hubby a few days rest before I Started enquiring as to when my greenhouse would be built ;o) I subtly hinted that there was a dry Sunny weekend ahead and maybe we could take advantage of that ? ;O) He thankfully picked up on my Subtle hints and we got cracking!
The Build
First we had to do some ground work, it was important to prep the base so it would tolerate the weight of the Greenhouse. We did this by first screwing the frame to plastic wrapped solid wood, the wood base was then mounted onto stone blocks we had previously sunk/cemented into the ground.
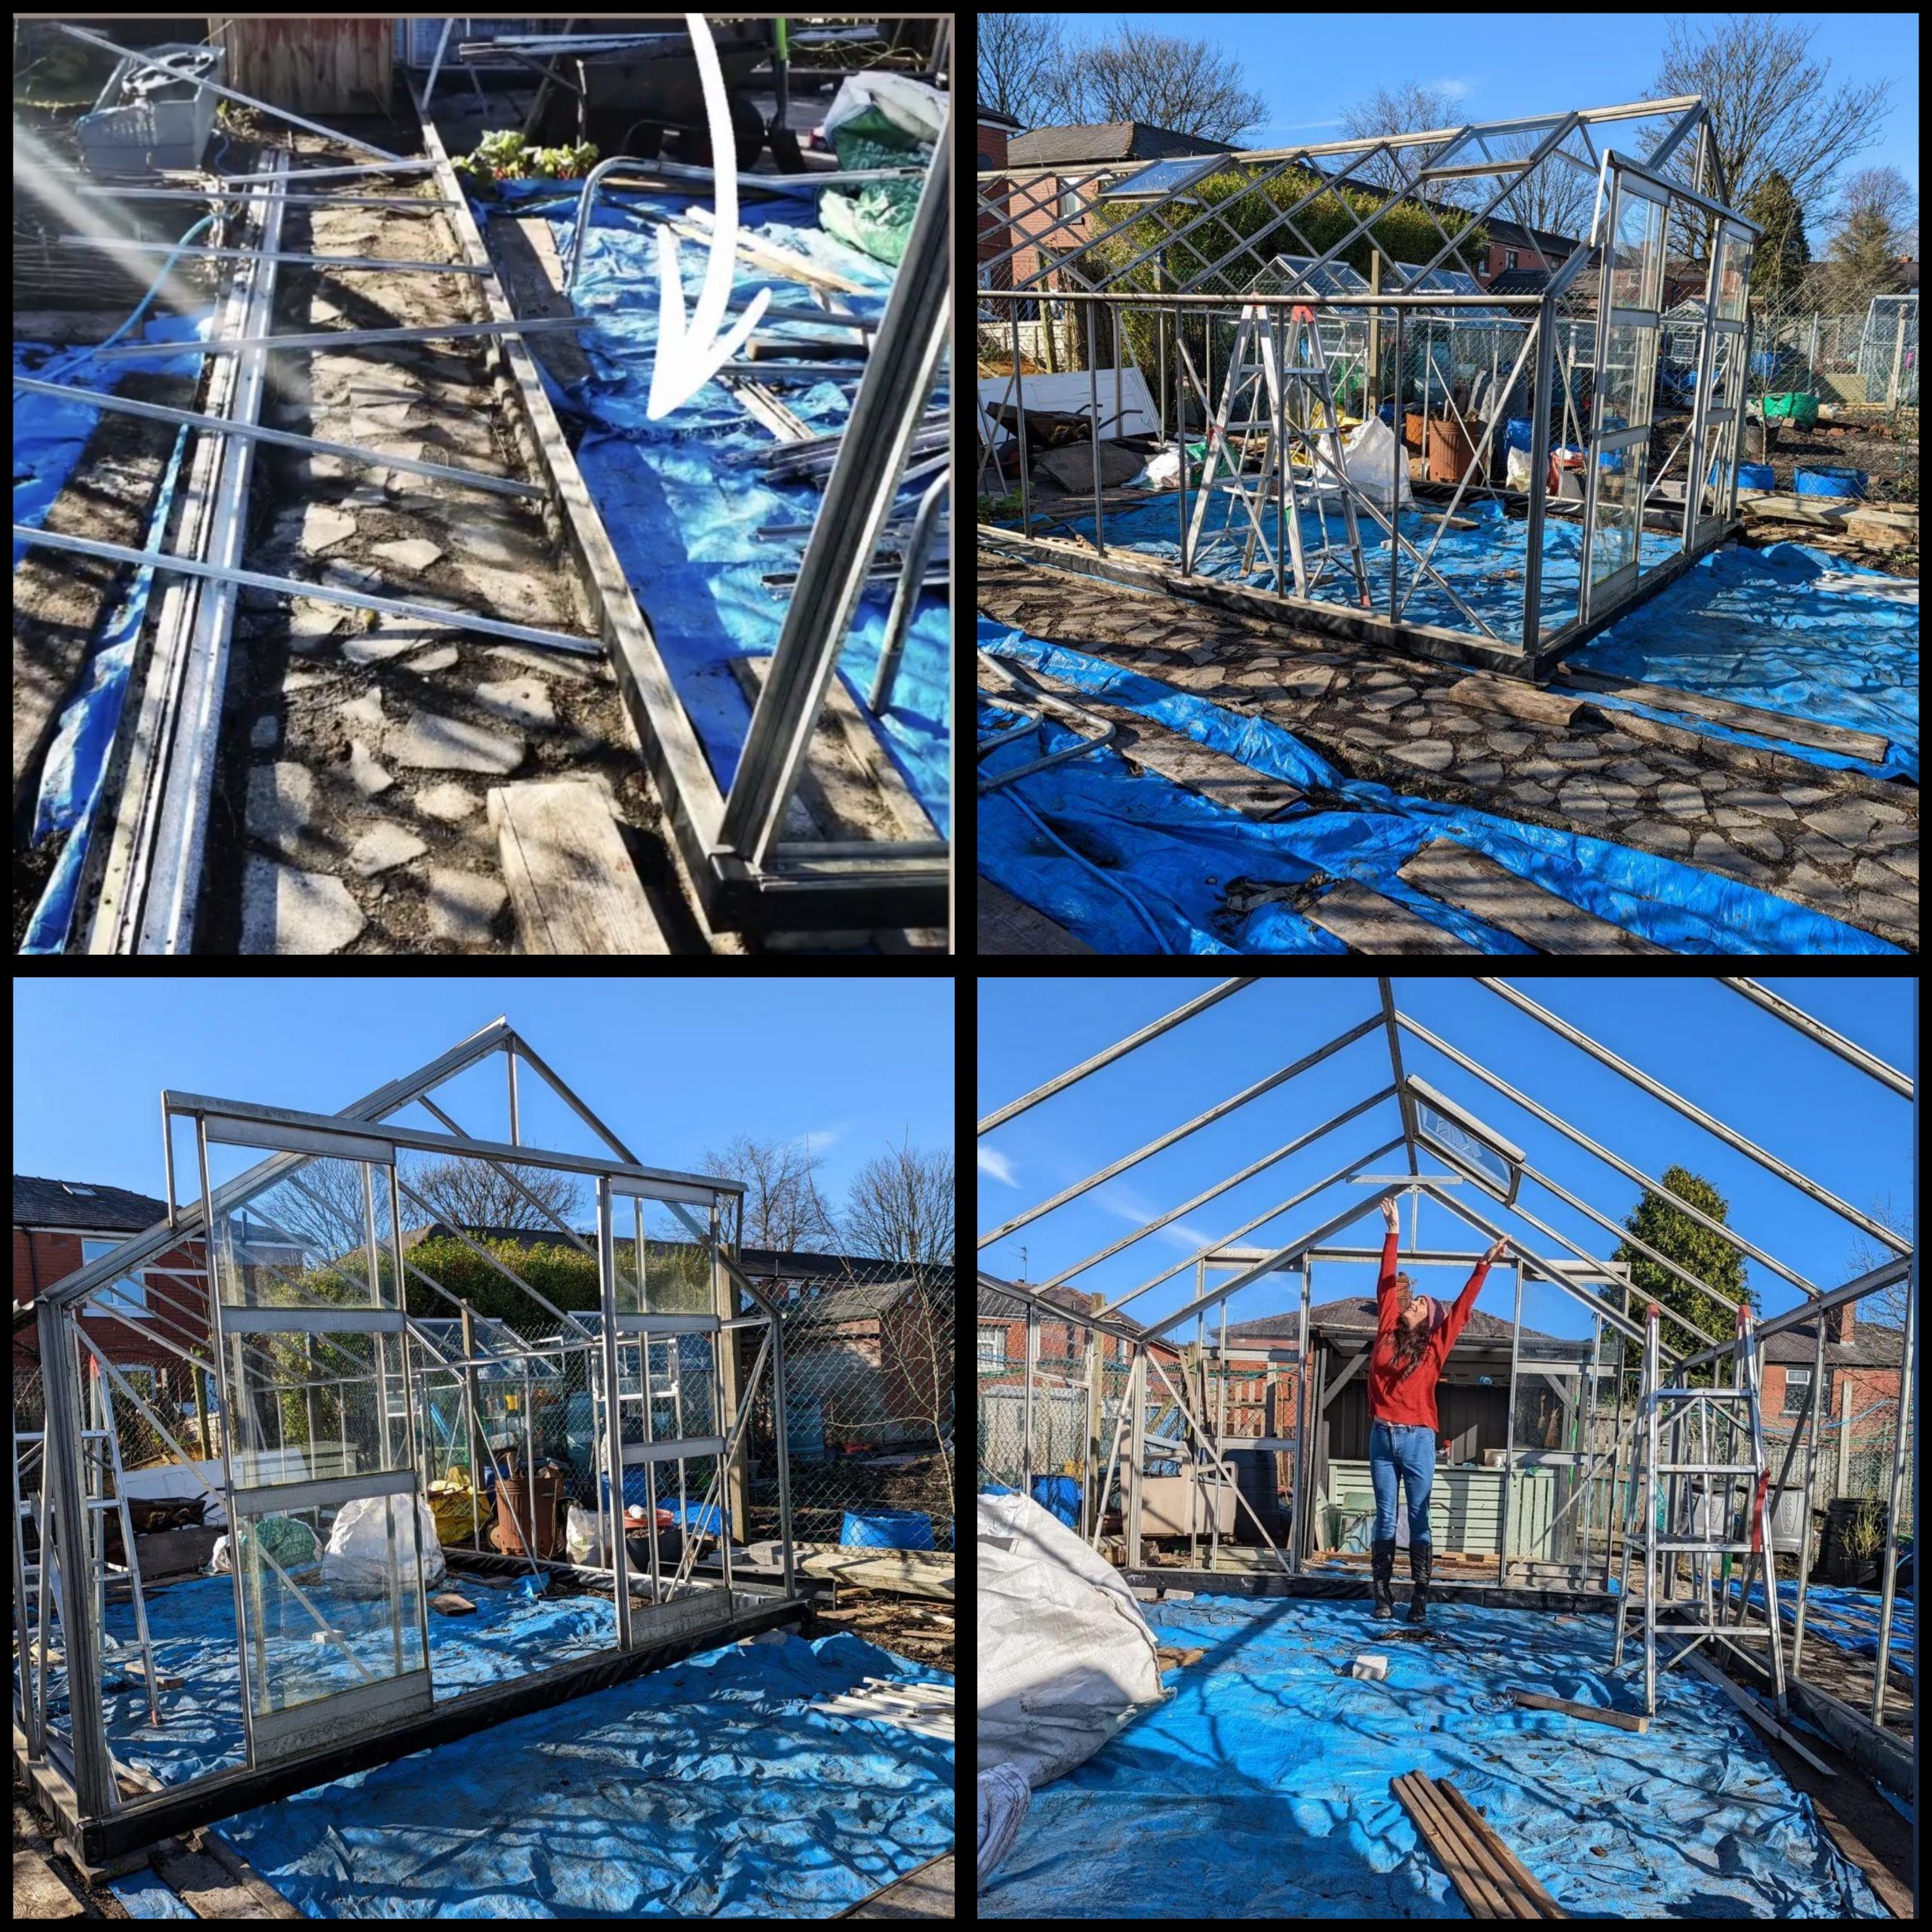
I am 5ft 6 and dwarfed by the Greenhouse…it really is a whopper! It took roughly 2 days in total to erect (slowed down some by the poor weather) Once Built, we scrubbed the frame ready for its new look. I decided to paint the frame black (I have always wanted a black Greenhouse!) I knew it would transform it from tired- to Modern and Fabulous! I sprayed it with Matt Black Hycote Spray Paint, I bought 24 Cans totalling £70.00 and it was more than enough, I had 4 cans left over, which will serve for touch ups, should I need them. Bear in mind this is a 20ft x 10ft Greenhouse, a considerably smaller Greenhouse would require much less.
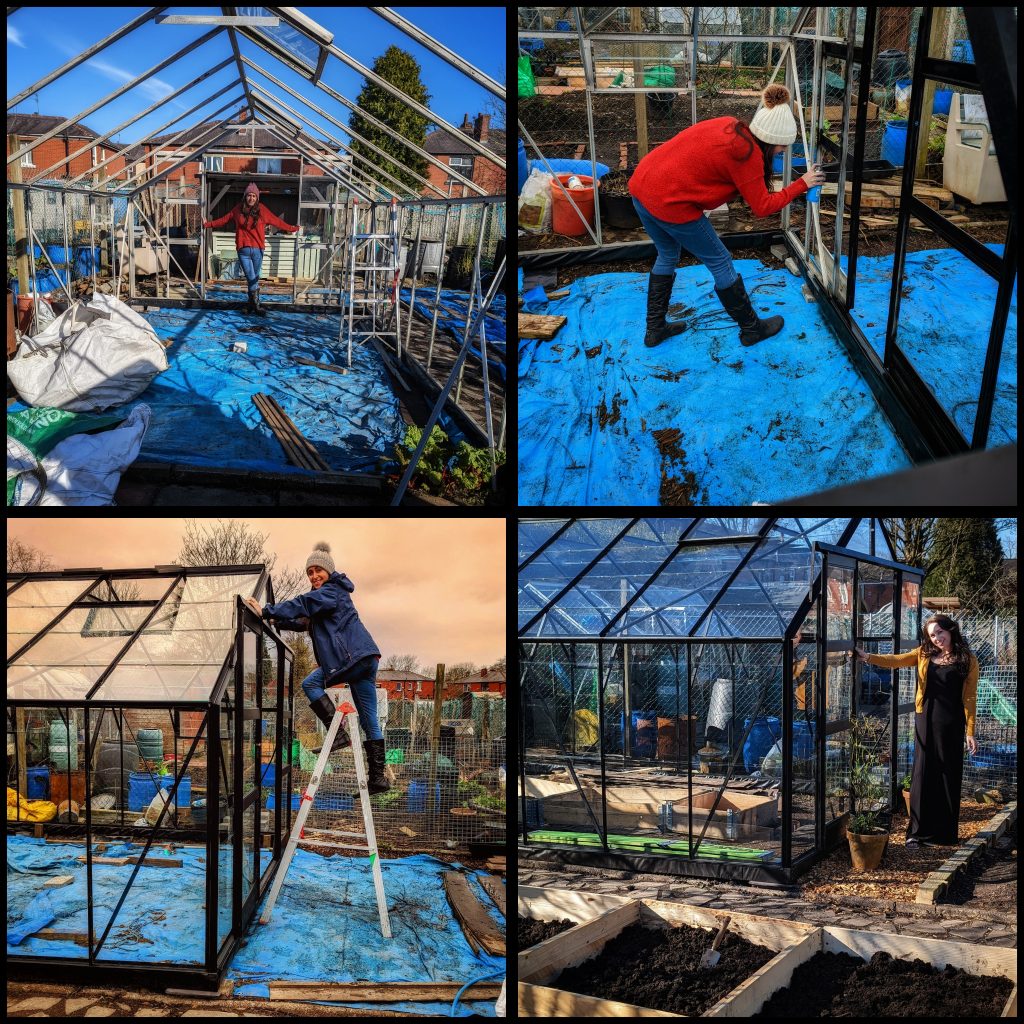
Once the paint was dry, it was time to glaze! It took two days to wash the glass, Front and Back! They had years of grime, dead insects and all other manner of grossness caked on, all of which I prefer not to dwell on! To fit the glass in the frame was quite a simple process, but hard work! Your hands and back WILL ache, especially on a Greenhouse of this scale! But with the use of W clips and Z clips the process itself is not difficult, just time Consuming! The glass simply slides into the grooves in the frame.
Beds and Floor
Beds/Pallet Collars
I was Intent on keeping this project as low cost as possible. I didn’t have the budget for expensive timber to make beds, so I settled on Pallet Collars. *The original purpose of a Pallet Collar is to provide a cheaper, more efficient replacement for traditional wooden boxes, they are stackable and foldable and primarily used to transport commercial Goods from A to B.
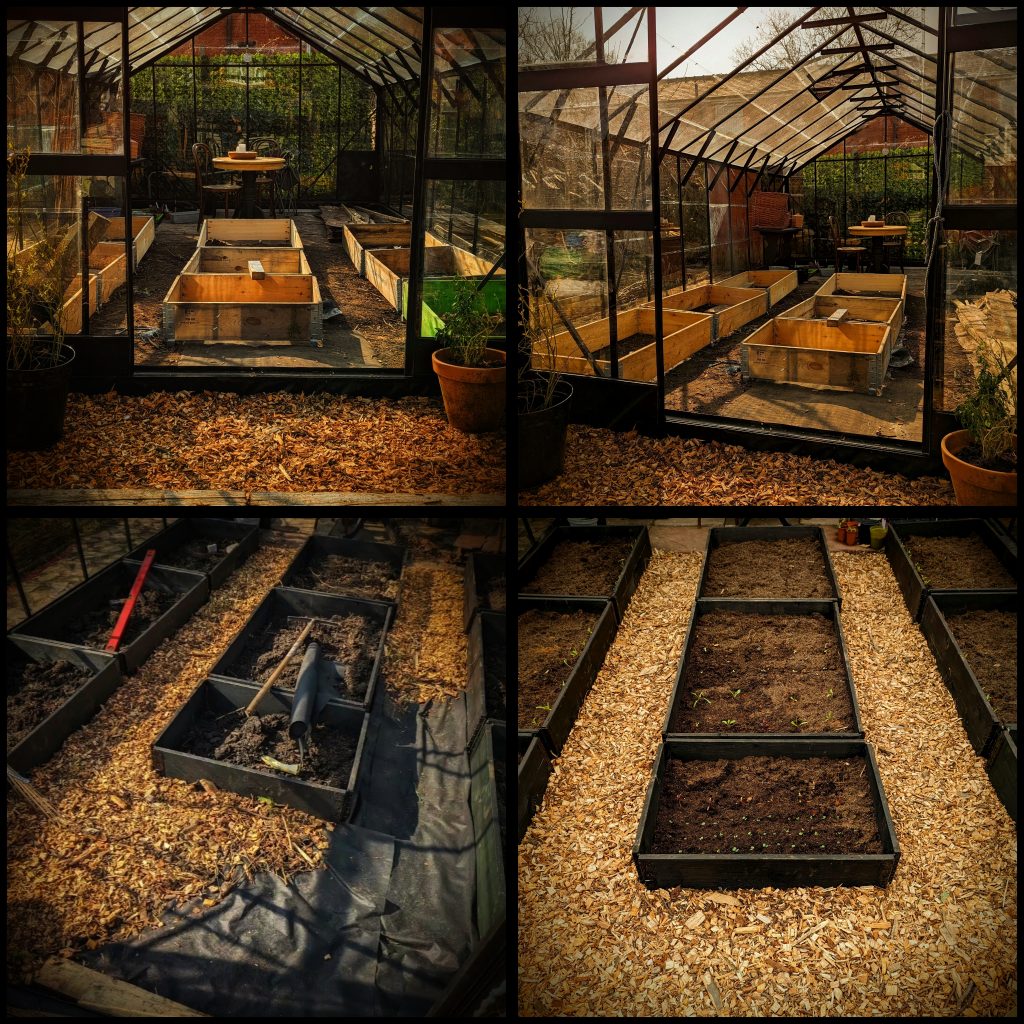
But us thrifty gardeners use them in other ways! For us, they are ready made Beds! and a damn sight cheaper than the alternative timber framed ones.
Cost= £4-6 each
I simply painted them Black and arranged them in place, filled them with compost and tada!! Nice, cheap and easy Greenhouse Beds!
Paint – Ducks Back Black Paint
Floor
The floor was lined with Weed Suppressant and covered with Woodchip. The table area at the end was paved with free paving slabs.
Wood Chip Cost =Free (a local farmer is happy to give it away)
Greenhouse Storage Ideas
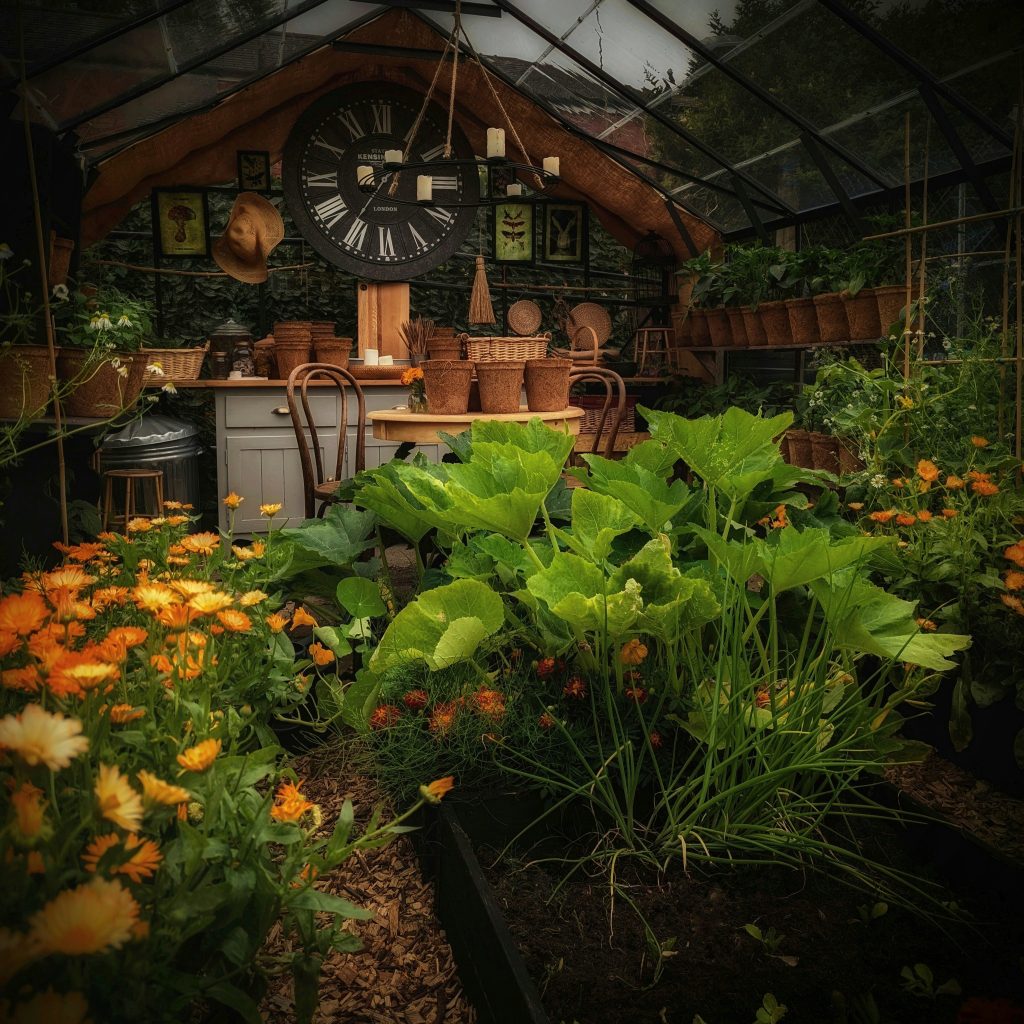
Its all well and good having a pretty Greenhouse, but it wont stay that way for long if you have piles of pots and other gardening essentials laying around, it needs to be both organised and functional too. Don’t get me wrong, I like a little organised Chaos as much as the next person! But I wanted a calming environment, a place I could escape too, should I need it. A tidy space= a tidy mind- And that means -storage, lots of organised, neat storage!
Pot Storage
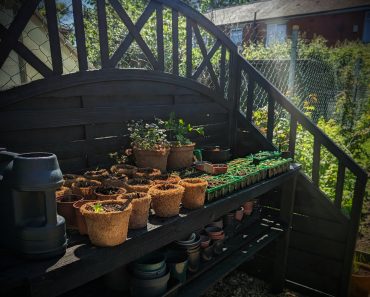
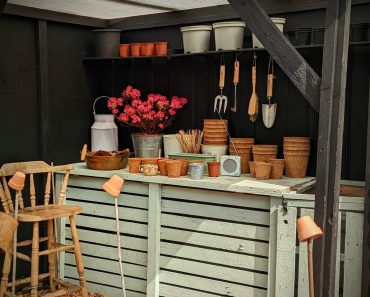
The Table below was free off FB Marketplace and the Shelf unit cost £4.00 off Ebay. Both benefited from a lick of Black paint and are now doing a wonderful job of housing my Coir Pots.
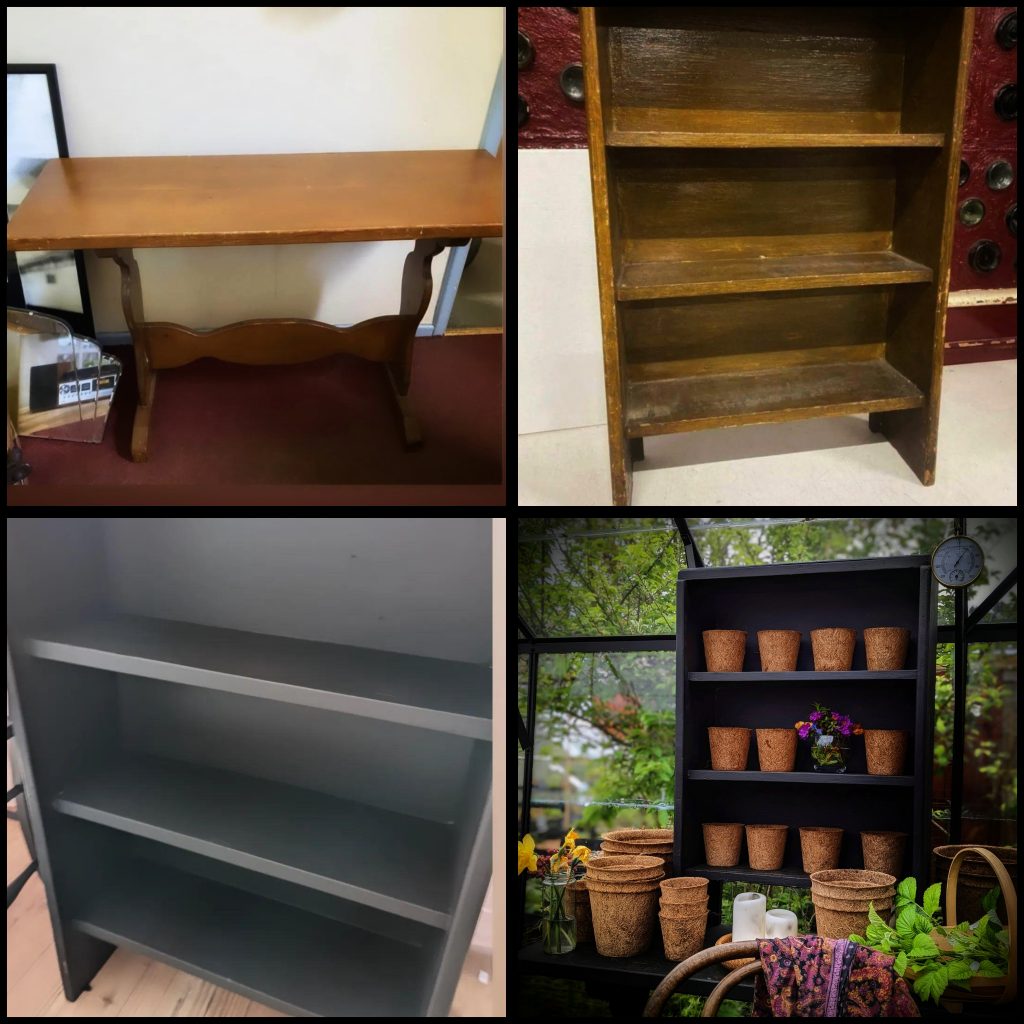
Both table and Shelf unit were painted in Black Jack Paint
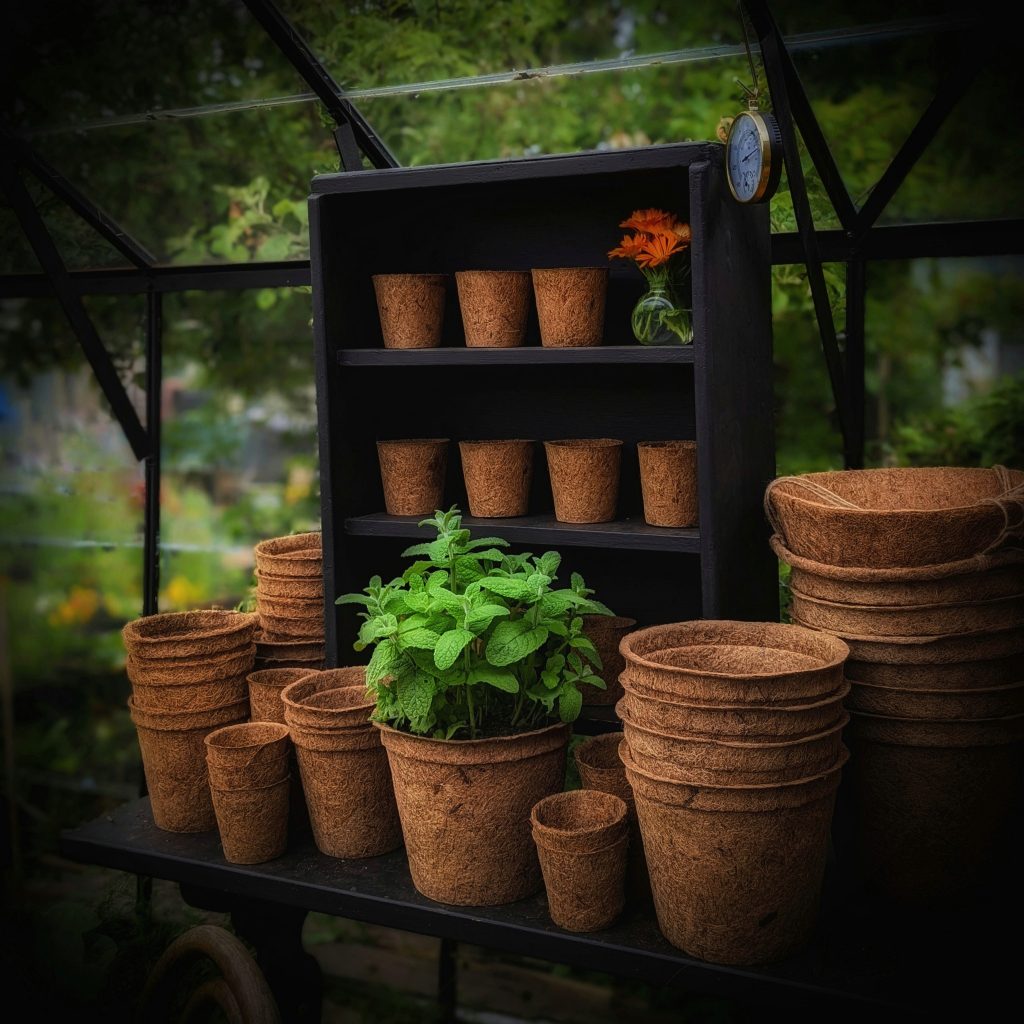
Storage Unit
Bought for £40 off FB Market Place, sanded and treated with beeswax and painted with Spitfire Grey
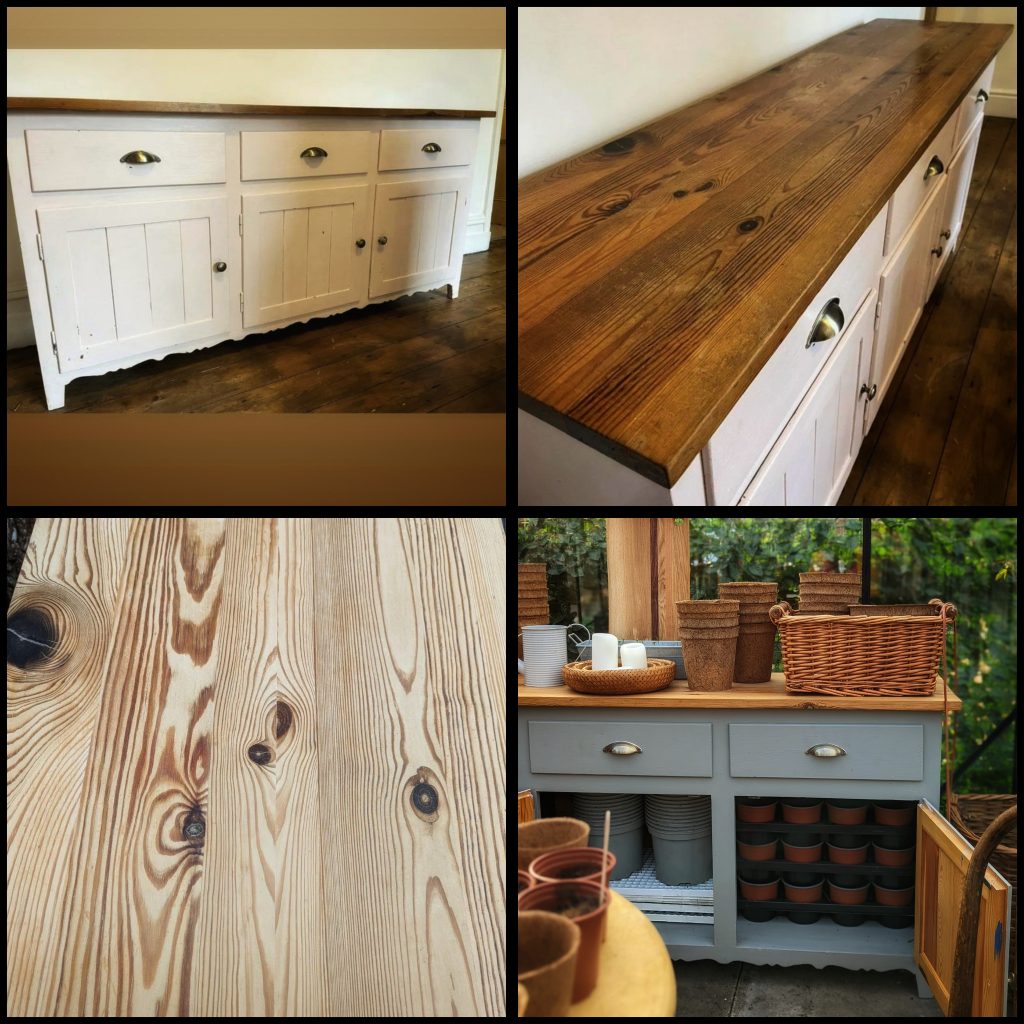
It took a couple of hours to sand all the Orange Varnish off and another hour to paint it, but it was well worth my time and effort. It now keeps my pots organised and tidy!
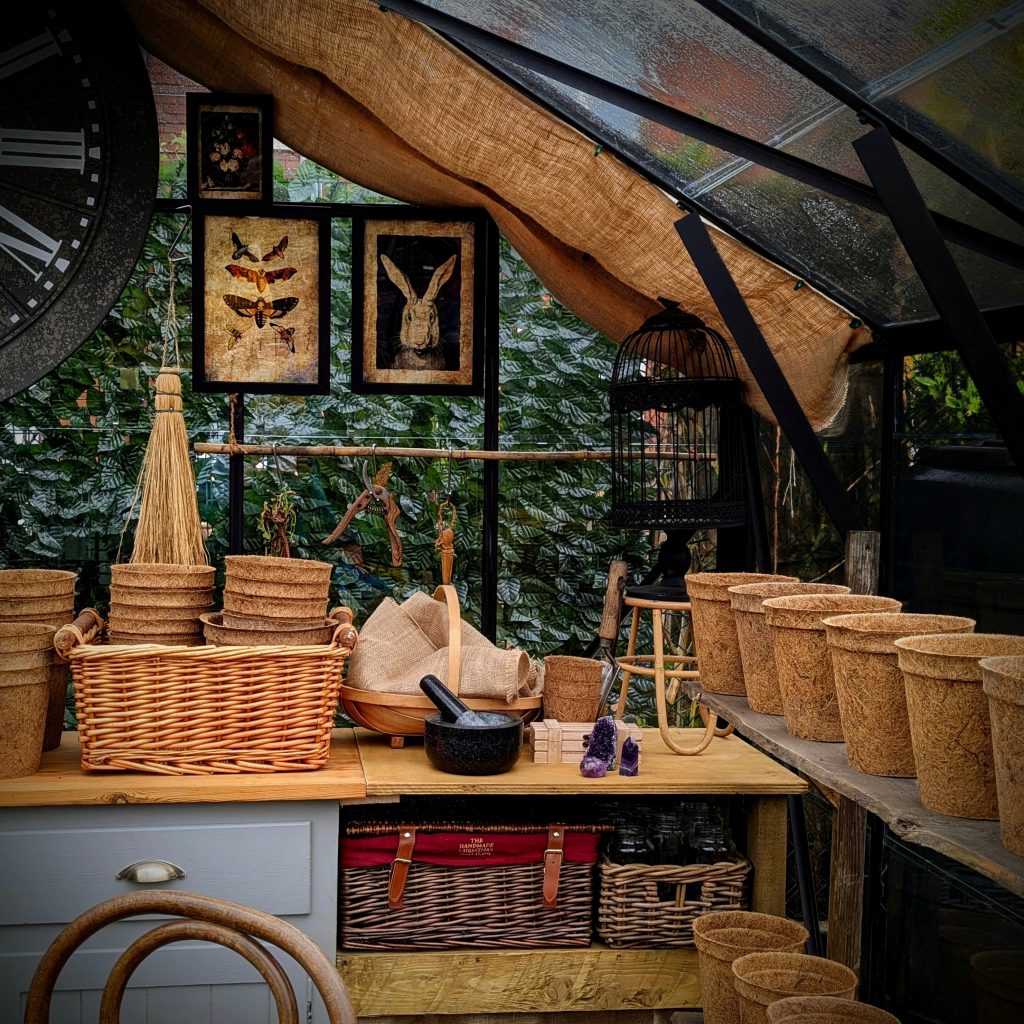
To maximise on the space, we extended the top of the unit to span the width of the greenhouse. By attaching old scrap wood to form a counter we created a budget friendly, extended store/work surface.
Pepper Shelves
I wanted to save the Greenhouse Beds for the larger plants (Tomatoes, Cucumbers etc) But I also wanted to grow a lot of Peppers. Peppers will grow Happily in pots, I just needed somewhere to put them.
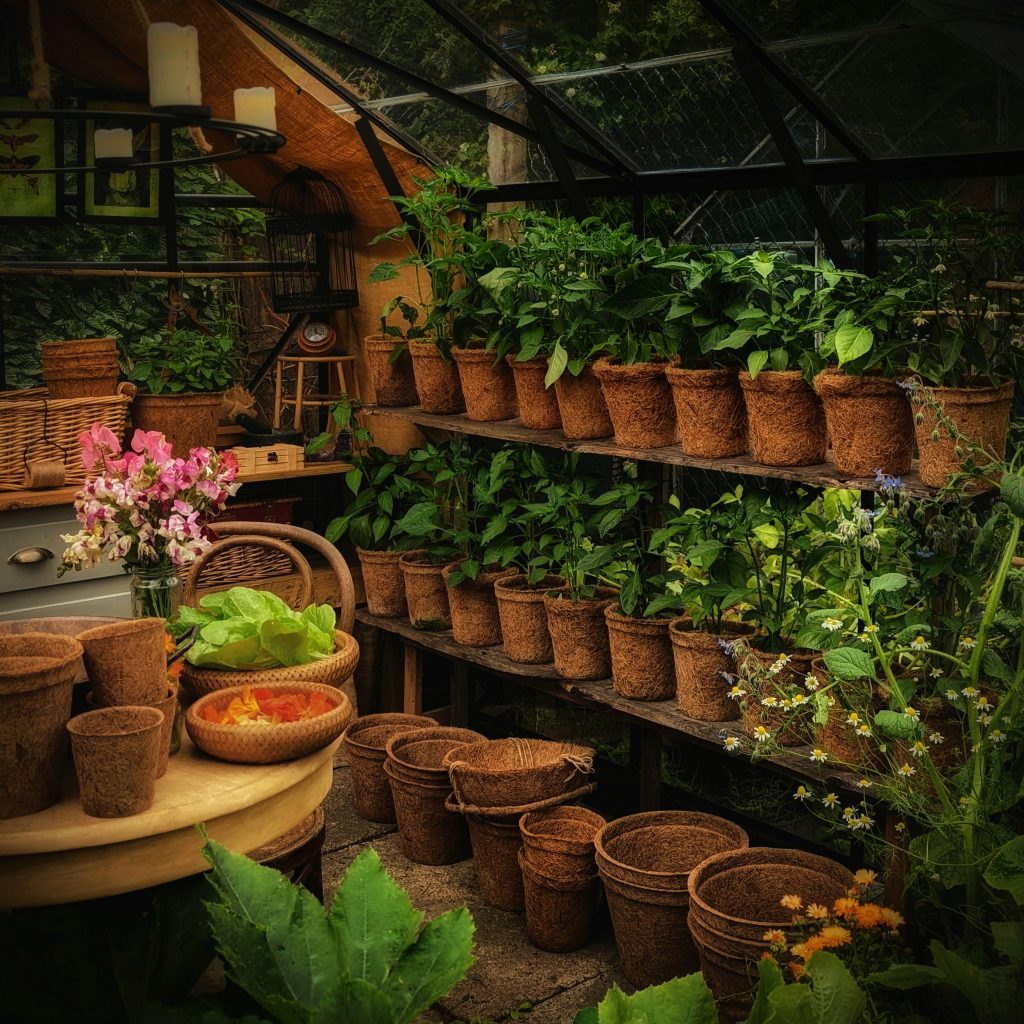
What I needed
- An area that would not infringe too much on the little free space I had
- Arranged so I could easily Harvest from the plants
- Easy watering
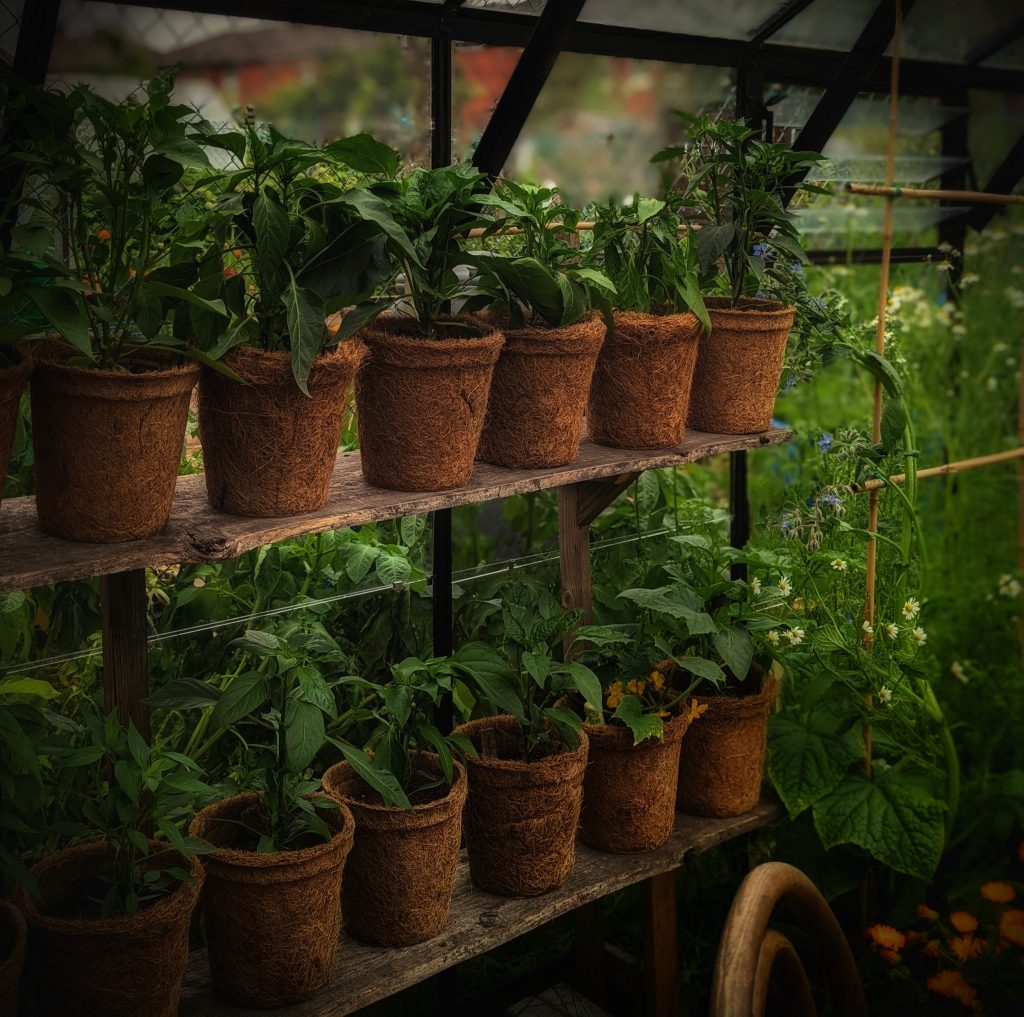
I came up with this tiered shelf unit, made from old Fence Slats and wood offcuts, it snugly hugs the wall of the Greenhouse without encroaching on the seating area. I can easily access the Peppers and they can be easily maintained. Want to learn how to Grow Peppers click here
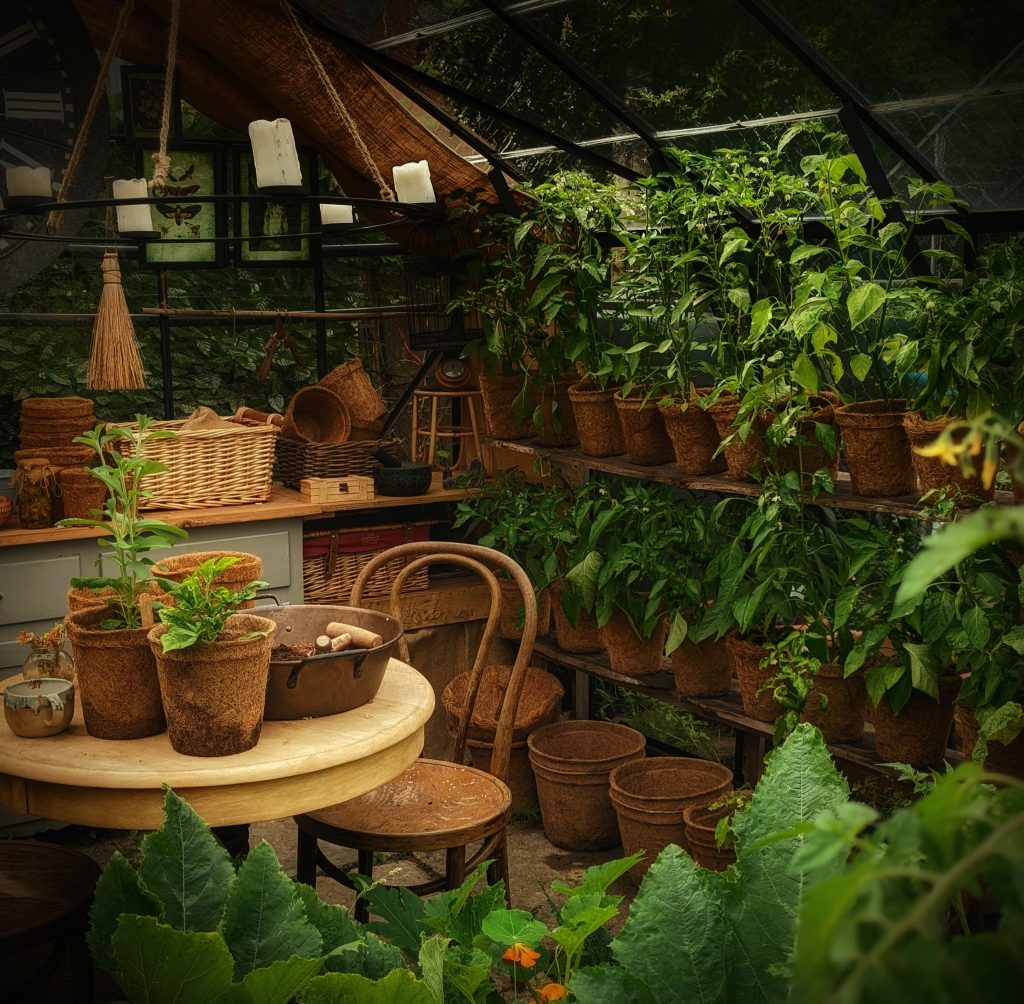
The Potting Table
The Potting table was actually free, it was listed on FB Marketplace, I picked it up, and gave it a makeover!
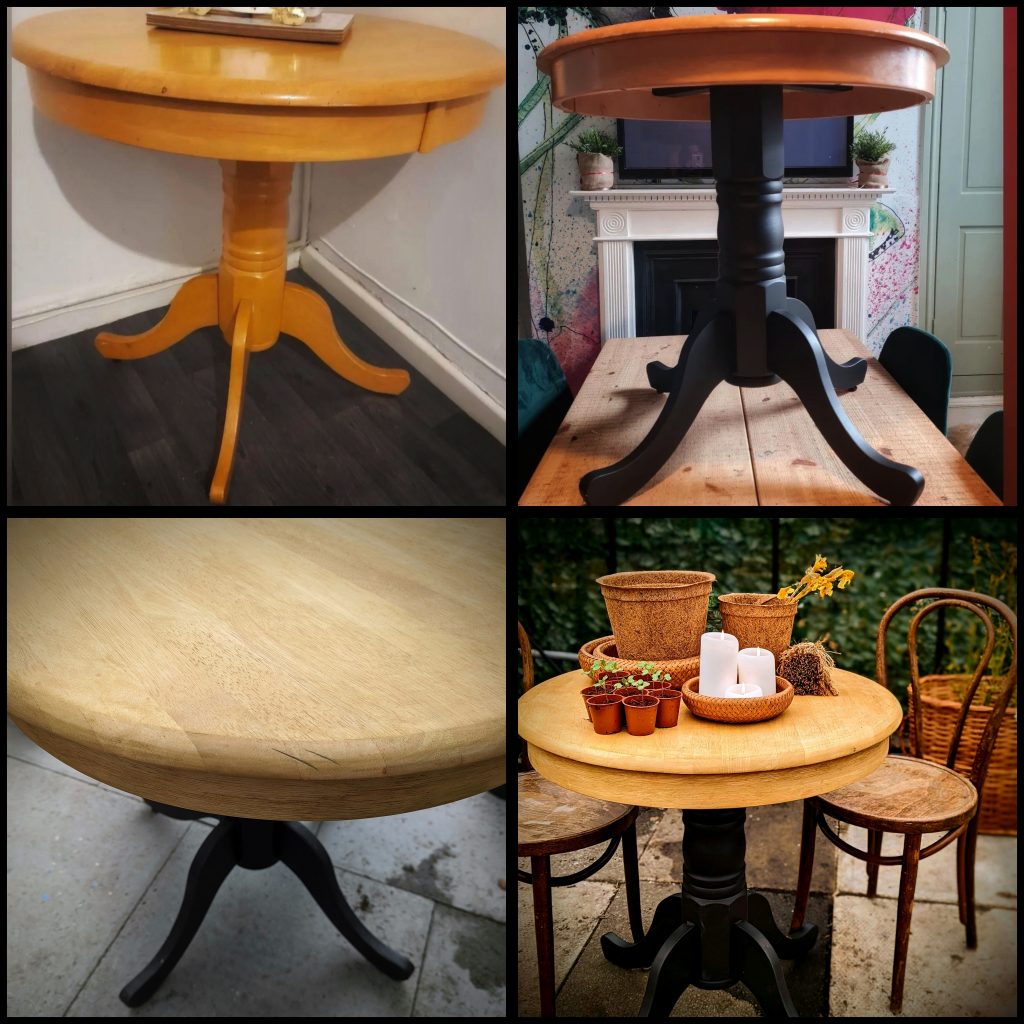
After a sand, wax and Paint it turned out beautifully! To date, I have spent many happy hours pottering away at this table! Treated with Beeswax and Black Jack Paint
The Chairs
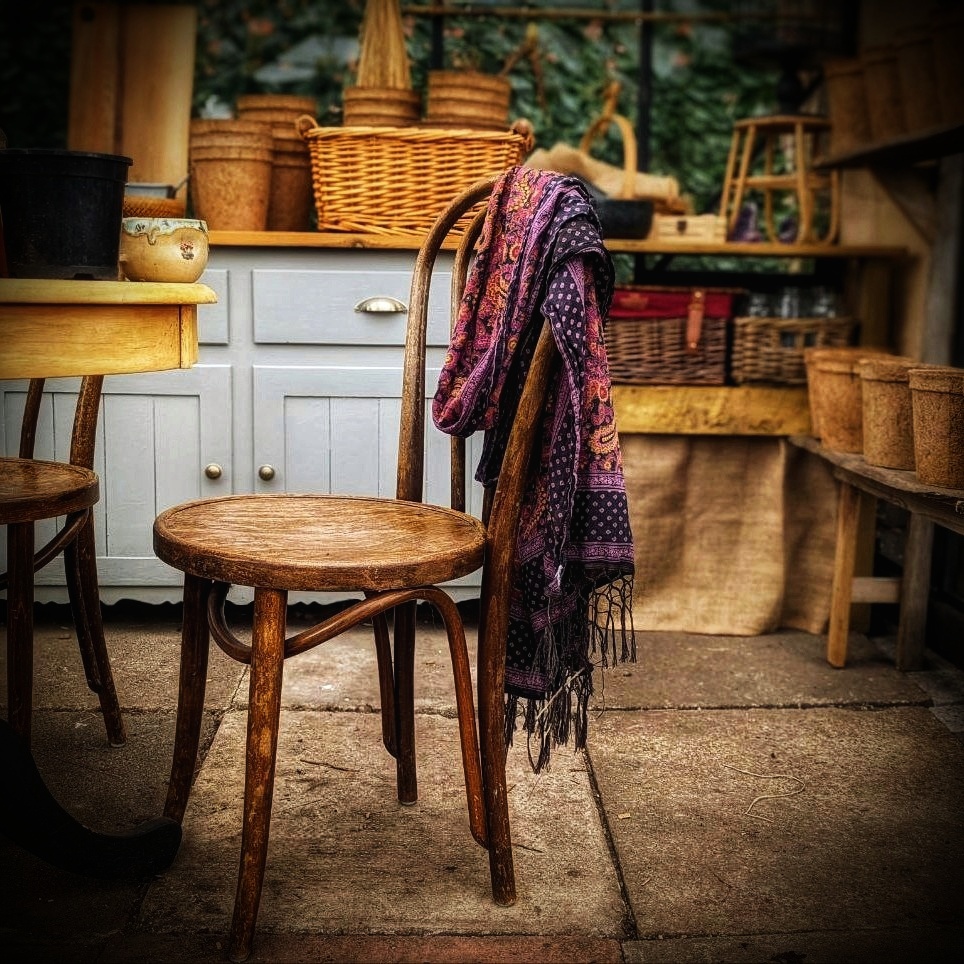
The pair of bentwood chairs and the smaller chair (below) were a group buy, bought off an online auction for the Grand Price of £6! Another bargain! I didn’t carry out any work on these items, they were perfect already!
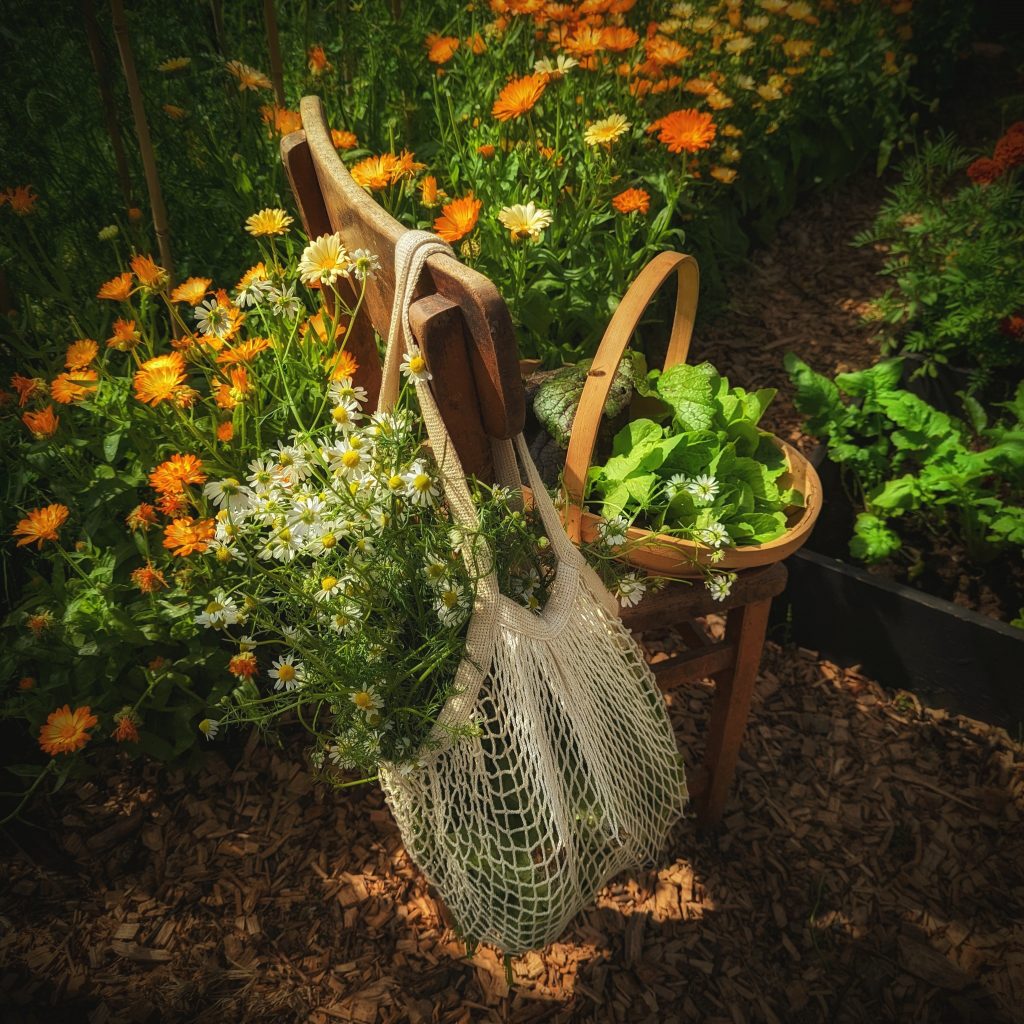
The Finishing Touches
The small elements that really personalise the space and make it ‘Homely’
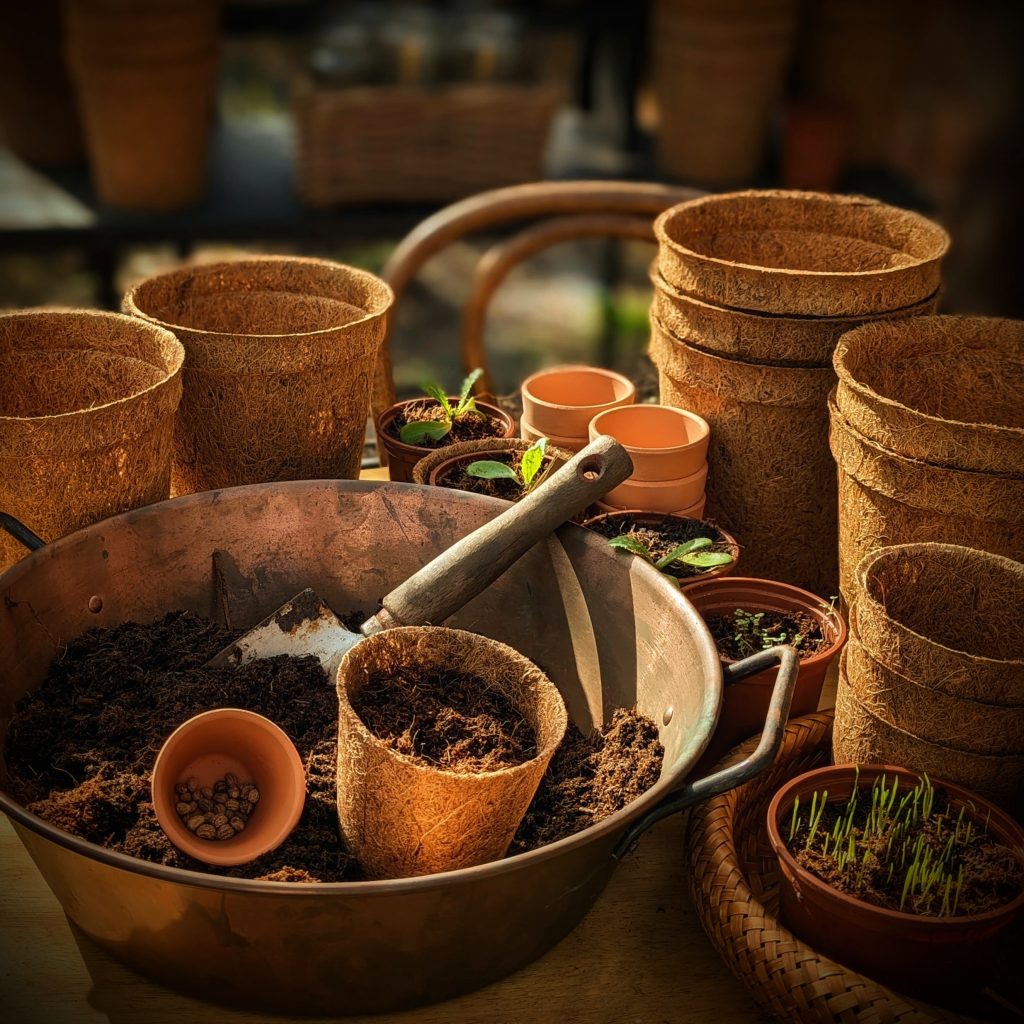
This old Jam Pan doubles as table top Compost storage. Perfect for potting on small seedlings or seed sowing.
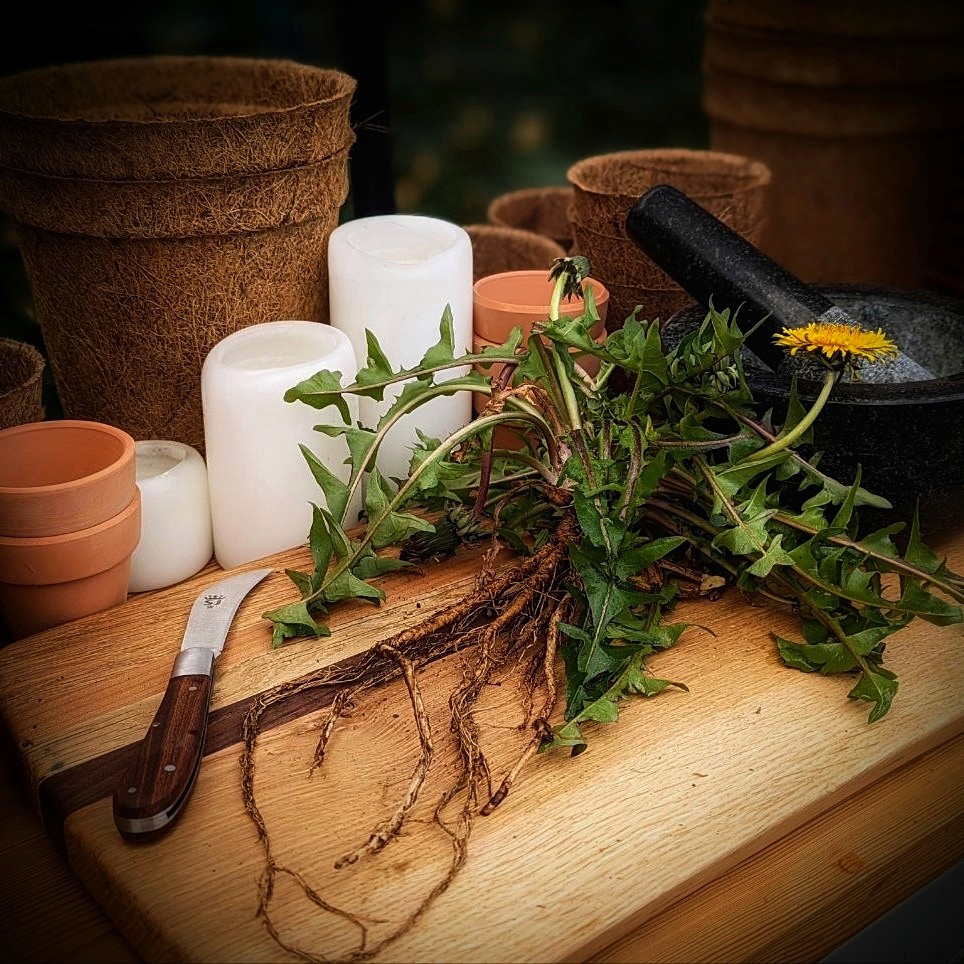
Chopping Board, a Knife and a Pestle and Mortar for Herbs and Healing Plants
Baskets for those all important harvests! Most of these baskets were offered for free or cost very little £2-3 each.
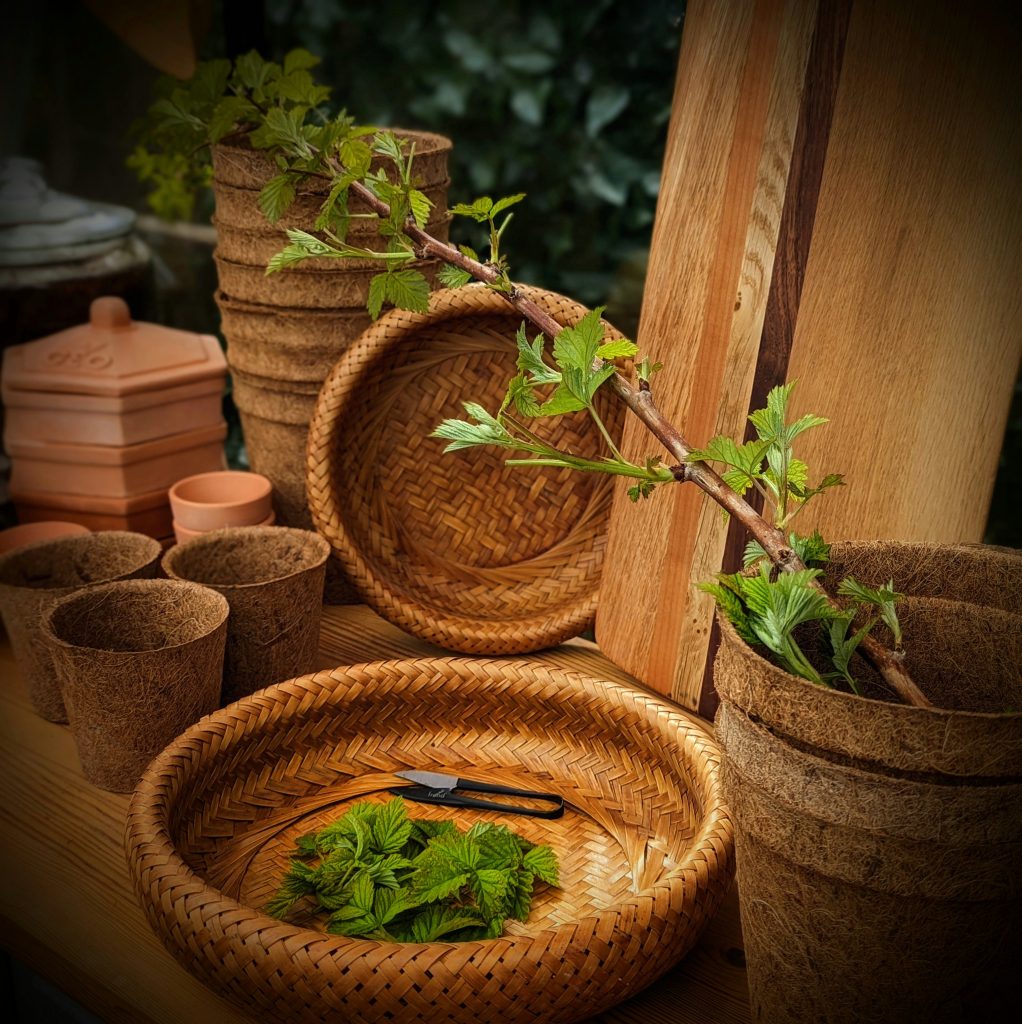
Coir Pots, love them!
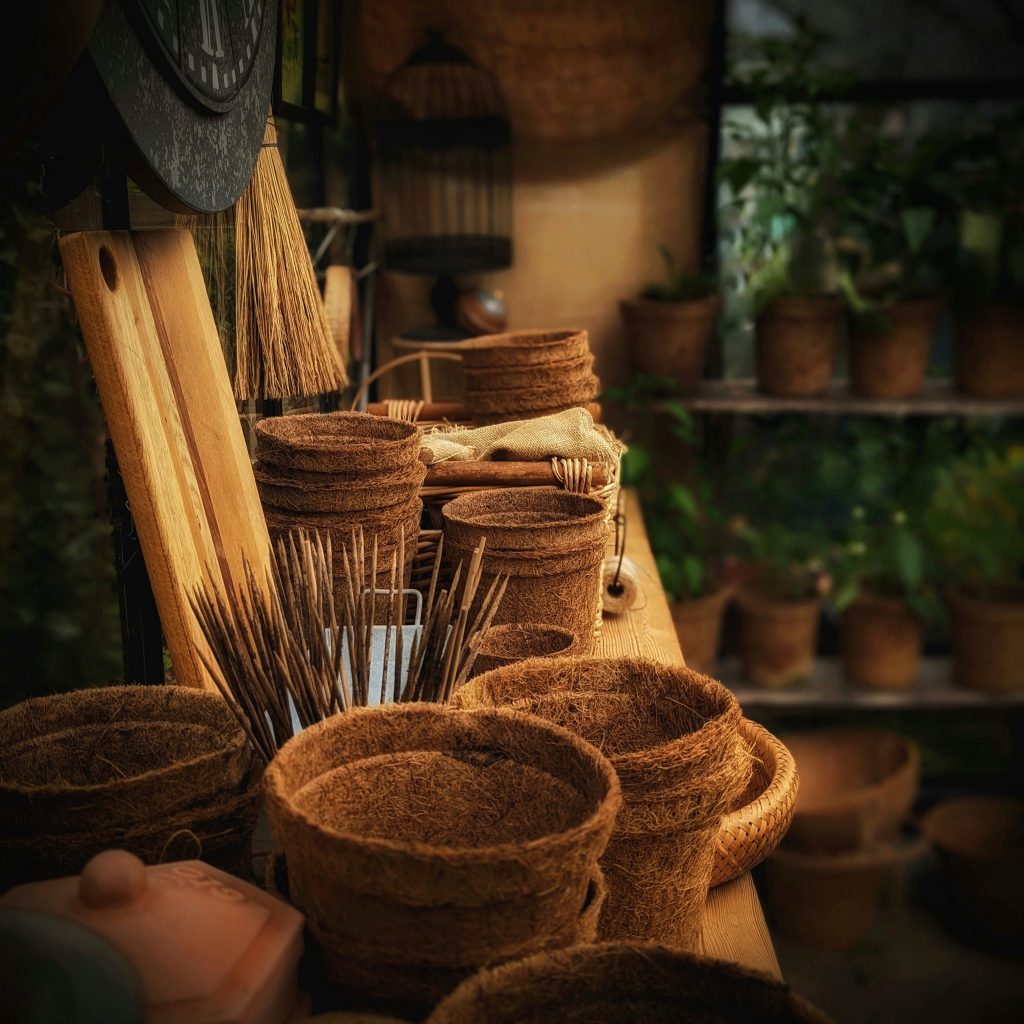
Some Interior Shots
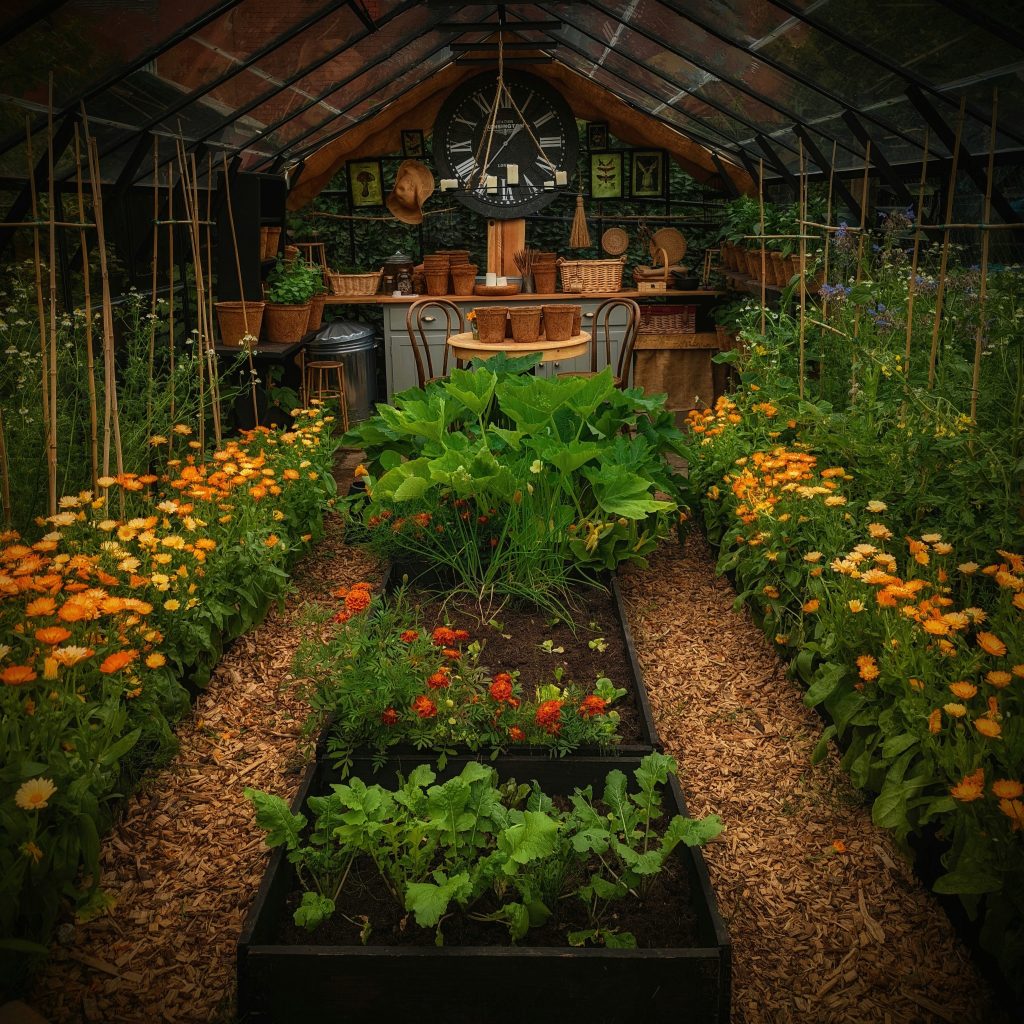
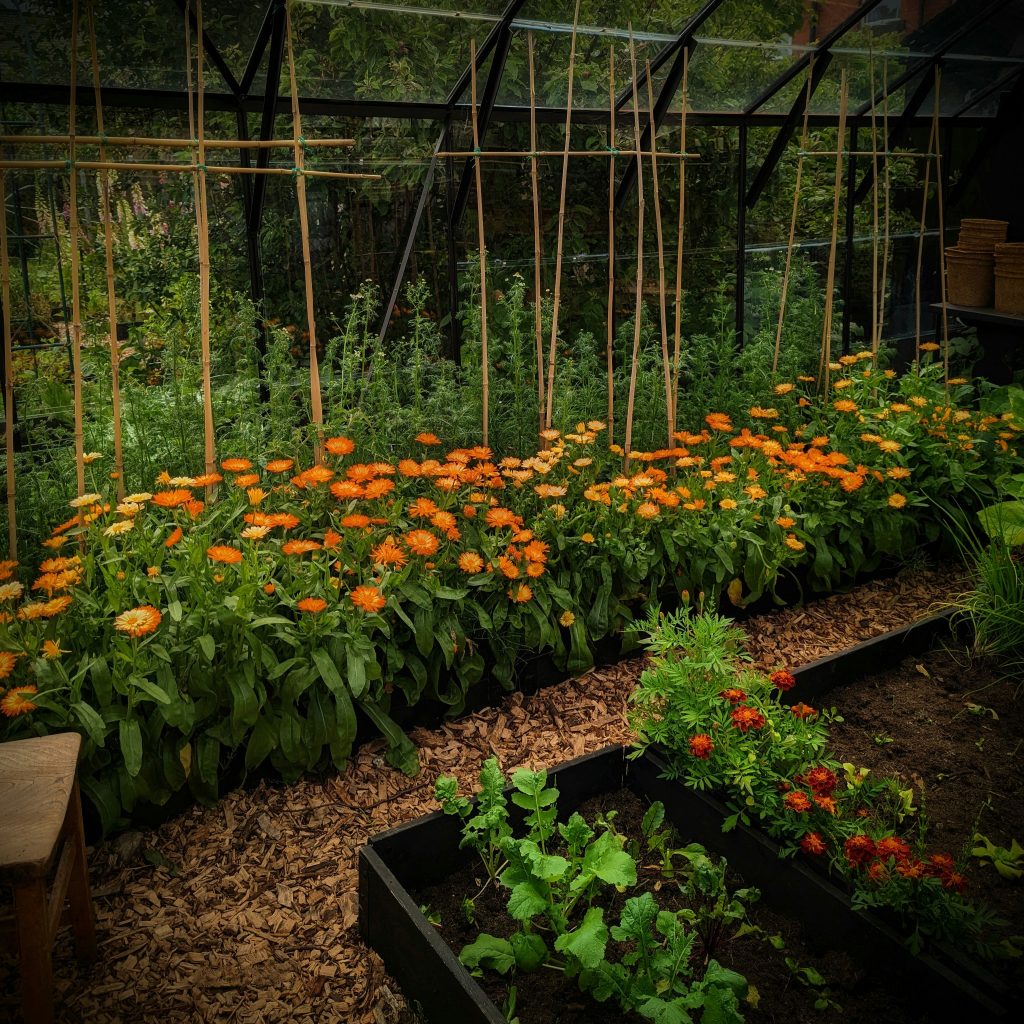
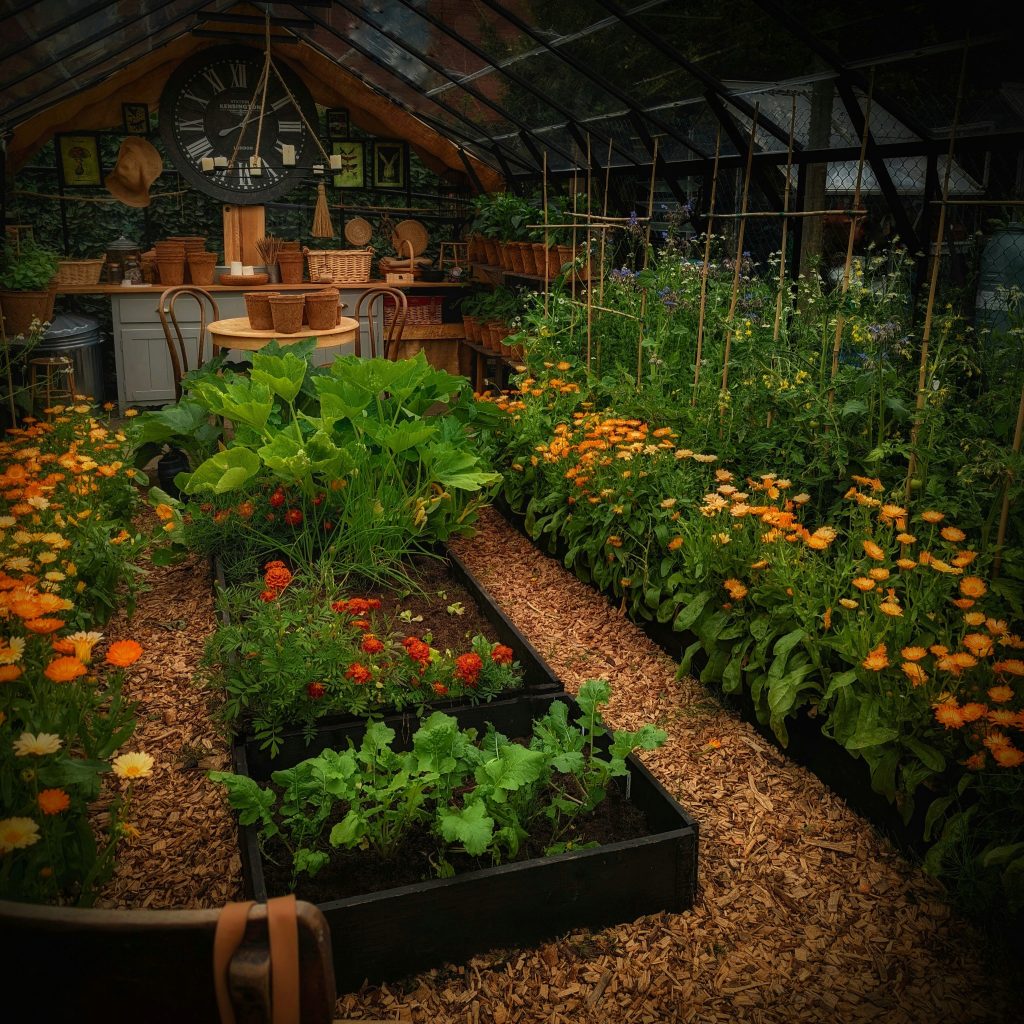
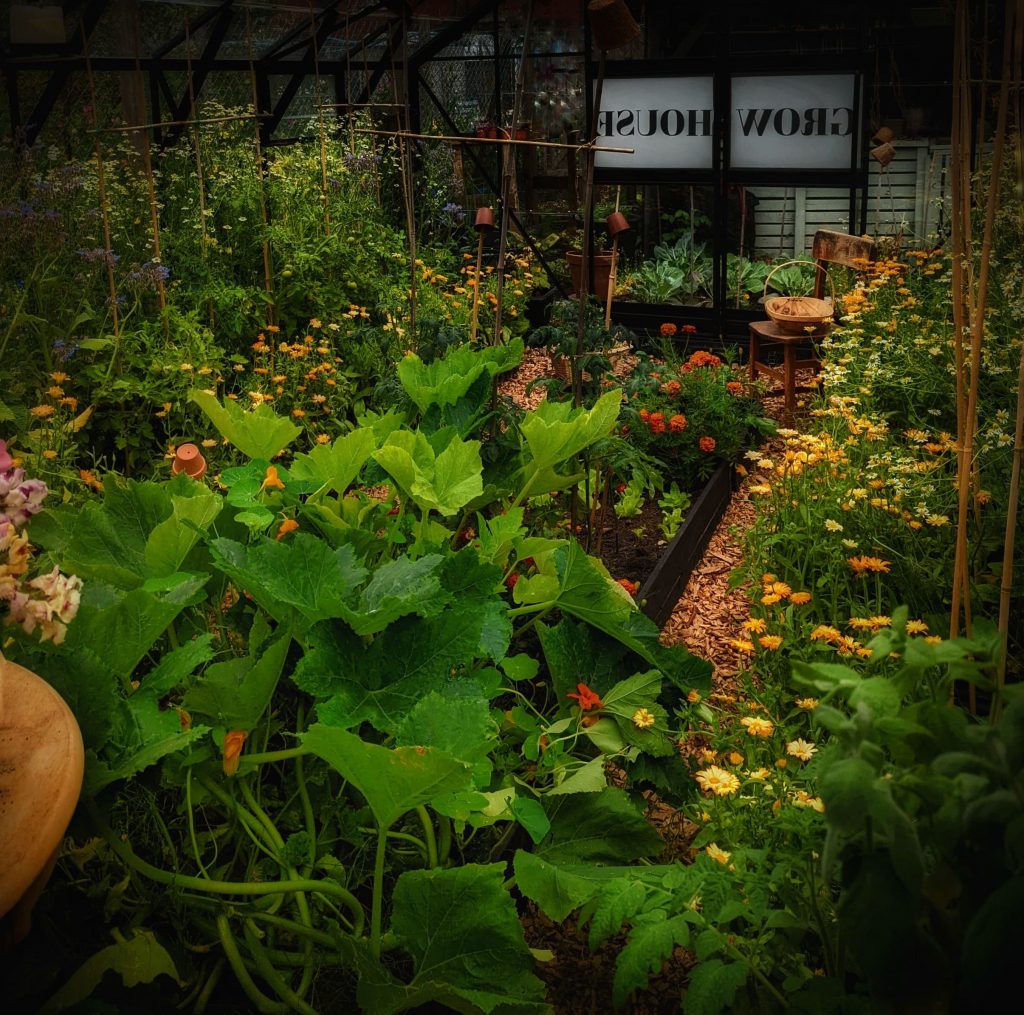
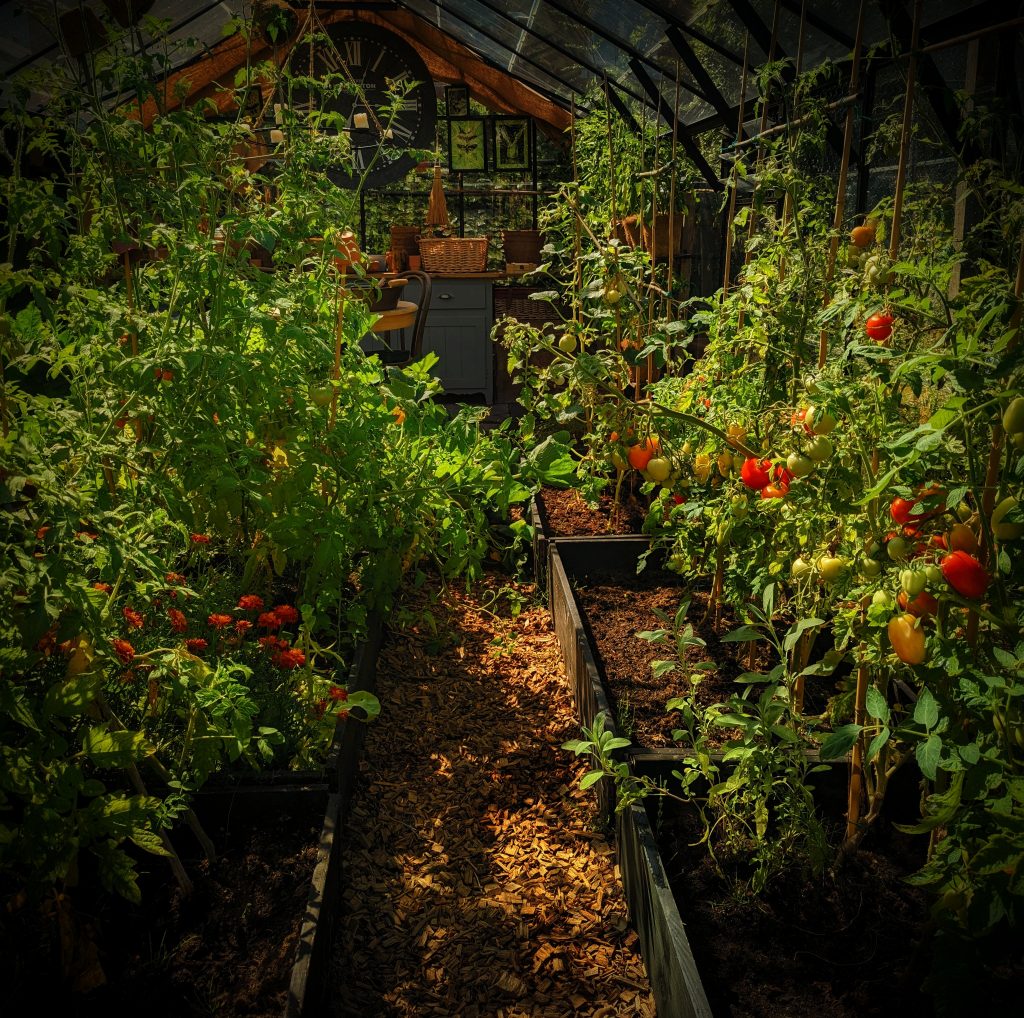
Have a look at the Greenhouse in full Bloom!



This is such a lovely post! I saw this linked in your reddit post on r/cozyplaces and it brightened my day to read through. The care and love the went into the greenhouse really shows!
Thank you for taking the time comment, yes it was a real labour of love, I thoroughly enjoyed the whole process ❤️🌿